
Vim, short for Vi Improved, is a powerful text editor and an enhanced version of the classic vi editor. It offers advanced features like syntax highlighting and various editing capabilities, making it a preferred choice for developers and system administrators.
While Vim is typically included in most Linux distributions, obtaining the latest version requires installing from external sources, such as Git.
This tutorial will guide you through the process of installing the latest version of Vim on Ubuntu using the apt package manager.
Table Of Contents
Install Vim on Ubuntu in 3 Easy Steps
Let’s start going into the details of installing the Vim editor on Ubuntu. We will start with the prerequisites for the process.
The Prerequisites
Make sure you have the following:
- A system running a recent stable Ubuntu version.
- A user account with root or sudo privileges.
Step #1: Prepare Your System
To get your system ready for GitHub installations, execute the following command:
# sudo apt-get install libncurses5-dev libncursesw5-dev
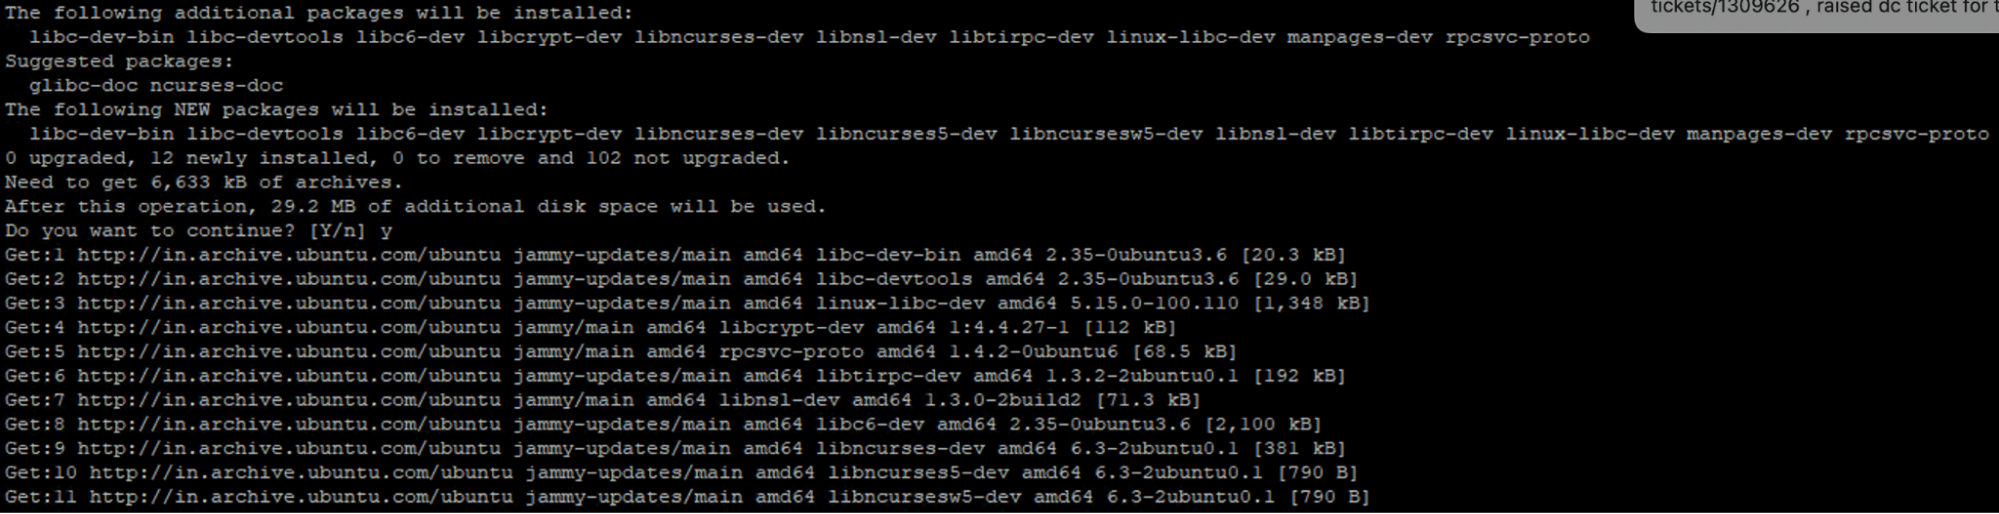
This command will install essential ncurses libraries, which are crucial for the next steps.
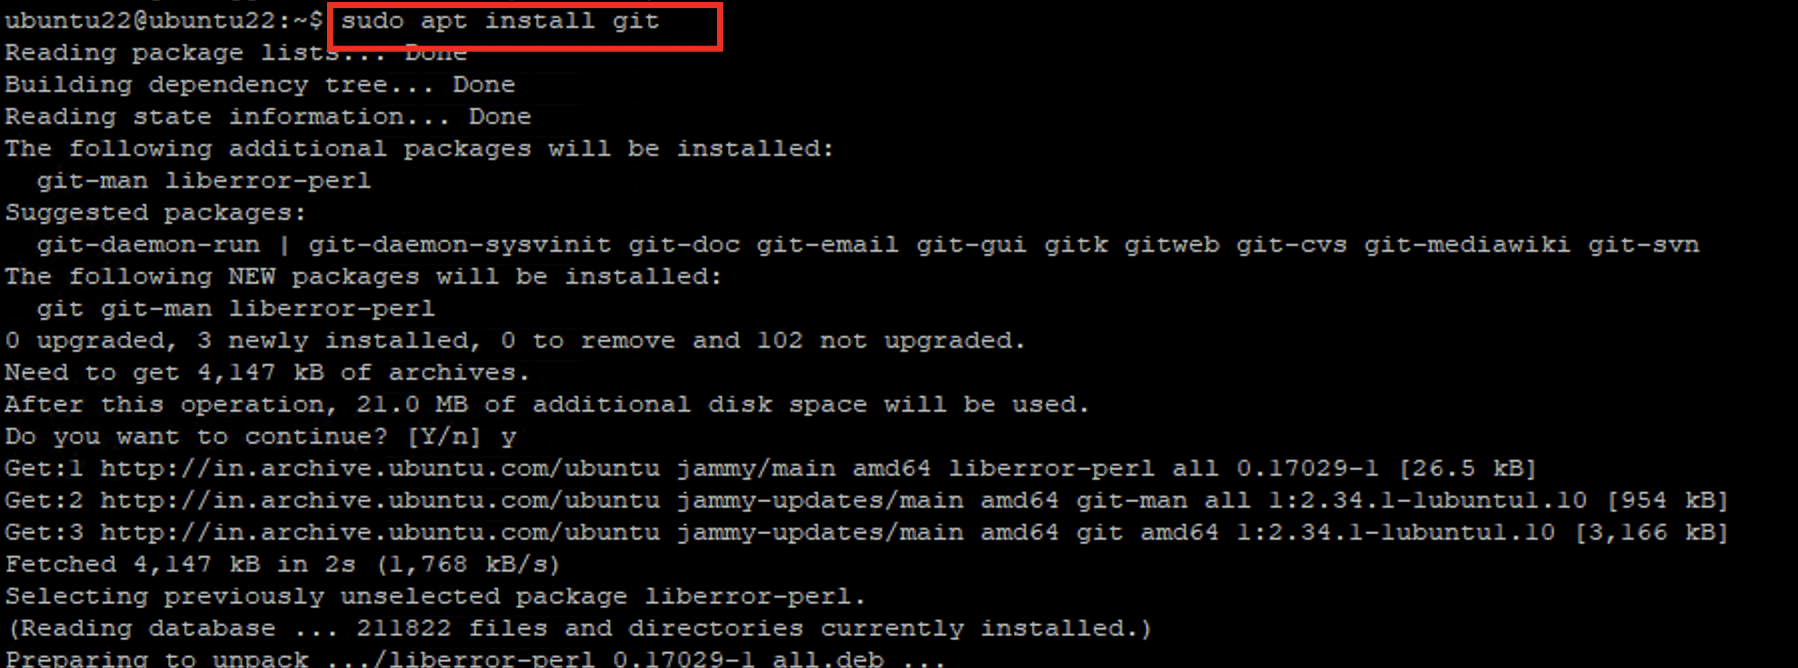
Next, add Git to your system with this command:
# sudo apt install git
Next, we will install the make utility, which is vital for compiling packages from external sources:
# sudo apt install make

Complete the preparation by installing build-essential, which includes the compilers needed for building software:
# sudo apt install build-essential
Step #2: Install the Vim Text Editor
Begin by cloning the official Vim repository from GitHub to your local machine:
# sudo git clone https://github.com/vim/vim.git

Once the download is complete, move to the vim/src directory with the following command:
# cd vim/src
Next, compile the software using the make utility with the following command:
# sudo make
After compilation, install Vim, ensuring all related libraries and documentation are installed. For this, run the following command:
# sudo make install
Vim should now be up to date on your system.
Step #3: Verify Vim Installation
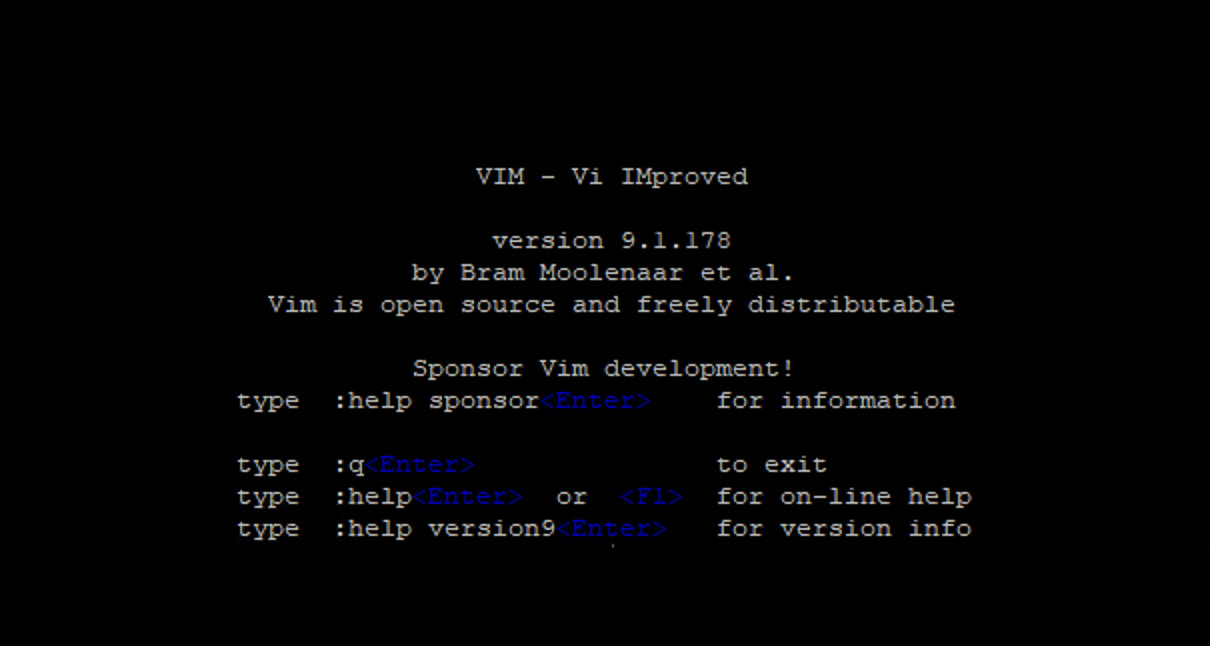
After installing Vim, it is always a good idea to ensure the upgrade was successful by printing out version information with the following command:
# vim -v
This command will open Vim and display the version information. You can verify that the system has an updated Vim version.
Now that you have the latest Vim version on your Ubuntu system, we recommend our tutorials on using find and replace operations, copy & paste content, jump to the end of the file, delete lines in Vim, and how to quit Vim.
How to Remove Vim From the System
You can easily uninstall Vim by following these steps.
Start by going to the vim/src directory with the cd command. Next, initiate the uninstallation process with the following command:
# sudo make uninstall
Enter the sudo password when prompted and hit y to proceed with the removal process.
This command will delete the most recent Vim version cloned from the GitHub repository. Subsequently, if you wish to revert to the officially available version, we recommend using the apt install vim command.
Conclusion
Whether you’re a seasoned developer or a casual user, embracing Vim as your preferred editor opens the door to enhanced productivity and efficiency. Installing Vim on Ubuntu is a straightforward process that grants access to a powerful text editor enriched with a multitude of features.
By following this comprehensive guide, you can take full advantage of Vim’s capabilities, from basic editing commands to more advanced features, enhancing your productivity in the development environment.
With hosting providers like RedSwitches supporting your endeavors, you can seamlessly integrate Vim into your workflow, further maximizing its potential. So, if you’re looking for a robust server for your Linux projects, we offer the best dedicated server pricing and deliver instant dedicated servers, usually on the same day the order gets approved. Whether you need a dedicated server, a traffic-friendly 10Gbps dedicated server, or a powerful bare metal server, we are your trusted hosting partner.
FAQs
Q. How can I install Vim on Ubuntu through the terminal?
To install Vim on Ubuntu, you can use the syntax: sudo apt install vim in the terminal. This command will install the latest version of Vim on your Linux distribution.
Q. What are the steps to install Vim on Ubuntu Linux?
To install Vim on Ubuntu Linux, follow these steps: 1. Open terminal 2. Run sudo apt update to update the repository information 3. Run sudo apt install vim to install the vi improved text editor
Q. How can I enable syntax highlighting in Vim on Ubuntu?
To enable syntax highlighting in Vim on Ubuntu, you can install plugins specifically for syntax highlighting. There are various tutorials available online to guide you through this process.
Q. What is the difference between Vi and Vim?
Vi is a default text editor in many Linux distributions, while Vim (Vi improved) is an improved version with additional features and functionalities. You can use Vim as an upgraded alternative to Vi.
