Docker is a very popular platform for developing, shipping, and running applications in a containerized environment. Containers are lightweight, portable, and self-contained environments, like virtual machines, that allow developers to package an application along with its dependencies and configurations. This makes building, testing, and deploying applications across different environments very easy.
Docker comes in two editions: the Community Edition (Docker CE) and the Enterprise Edition (Docker EE). Docker EE is a container management solution designed for enterprise use, with features like security and support.
Rocky Linux is a community-driven enterprise-grade operating system designed to be 100% compatible with RHEL (Red Hat Enterprise Linux). It is a reliable and secure platform ideal for running containerized applications.
To use Docker on Rocky Linux, you must first install the Docker engine. This article will describe the steps you need to follow to install Docker on Rocky Linux and then discuss how you can uninstall Docker if you don’t want to use it anymore on the Rocky Linux machine.
Table Of Contents
- Prerequisites to Installing Docker on Rocky Linux
- Install Docker on Rocky Linux
- Uninstall Docker on Rocky Linux
- Conclusion
- FAQ
Prerequisites to Installing Docker on Rocky Linux
Installing Docker on Rocky Linux has the following prerequisites:
- Rocky Linux 8 or later.
- User with sudo privileges.
- The server should have virtualization support.
Install Docker on Rocky Linux
Now that you have fulfilled the prerequisites, it’s time to dive into the details of the process.
Step # 1: Add Docker CE Repository
The Docker package available in the official Rocky Linux repository may not be the most up-to-date version.
We recommend installing Docker from the official Docker repository to ensure that you have the version with the latest features and bug fixes.
Rocky Linux has DNF as the package manager that works great with Linux distributions that use the .rpm packages. That’s why, although Rocky Linux has no dedicated Docker repository, it is possible to use the CentOS Docker repository for the purpose.
Use the following command to download the repo from the Docker website:
# sudo dnf config-manager --add-repo=https://download.docker.com/linux/centos/docker-ce.repo

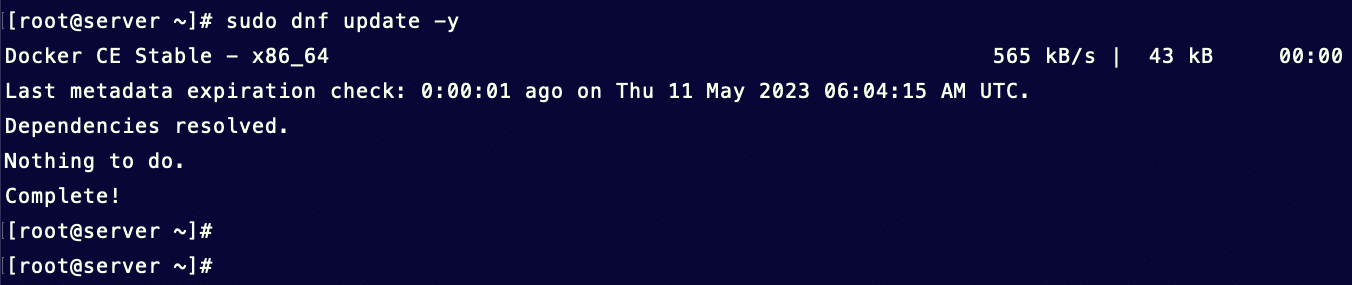
Next, update the system to rebuild the DNF cache:
# sudo dnf update -y
Step # 2: Install Docker & Additional Packages
Before you go ahead and install Docker on Rocky Linux, you need to install the following additional packages that Docker Community Edition requires during the installation process:
- docker-ce: the main package.
- docker-ce-cli: for the command-line interface.
- containerd.io: Provides the container runtime.
- Docker-compose-plugin: A plugin that provides the ‘docker compose’ subcommand
Use the following command:
# sudo dnf install docker-ce docker-ce-cli containerd.io docker-compose-plugin
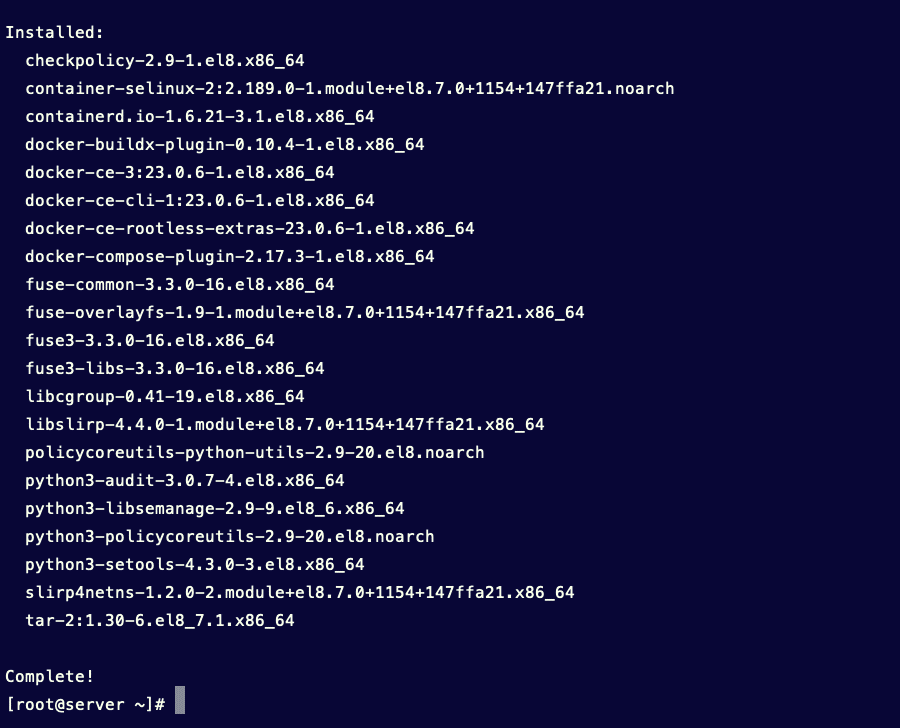
Once the command finishes, Docker will be installed on your Rocky Linux machine,
Step # 3: Confirm Docker is Working on the Rocky Linux Machine
After the installation, it’s always a good idea to check whether Docker is properly operational. For this, you can check for the Docker version with the following command:
# docker --version

As you can see, the command prints the Docker version. This indicates that Docker has been properly installed and is ready for further use.
Step # 4: Start and Enable Docker
The next major step after the installation is configuring Docker.
This is a multi-step process where you need to carry out the following tasks:
- Start Docker service with the systemctl command.
# sudo systemctl start docker
- Since the previous command doesn’t generate any message, you need to verify the status with the next command:
# sudo systemctl status docker
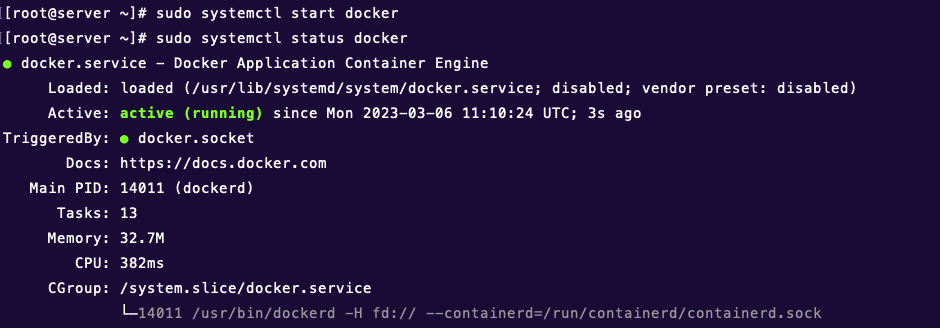
The systemctl output shows the service as active and running.
- Enable the Docker service so that it starts at every server reboot.
# sudo systemctl enable docker

Step # 5: Add User to Docker Group
By default, Docker commands require root privileges (meaning you need to prefix any command with sudo).
If you wish to allow a no-root user to manage and run Docker commands without prefixing sudo, add that user to the docker group using the following command. Please note that the ‘docker‘ group is created automatically during the Docker installation process.
# sudo usermod -aG docker $USER
Where $USER is the system user’s name. Log out and log back in with this user so that the changes can take effect.

Step # 6: Test the Docker Installation
Docker images serve as the basis for Docker containers executed by the platform. By default, the platform uses Docker Hub, the native Docker-managed registry of images, as a source for these images.
Docker Hub enables anyone to create and publish their Docker images. As such, all popular Linux distros and software have a Docker image on the Hub.
Type the following command to verify if you have access to Docker Hub and can download images from it:
# docker run hello-world

The command pulls the “hello-world” image from the Docker Hub. This image is a simple image that creates a container and runs a simple command that prints the ‘Hello from Docker’ message in the terminal.
Let’s try another example:
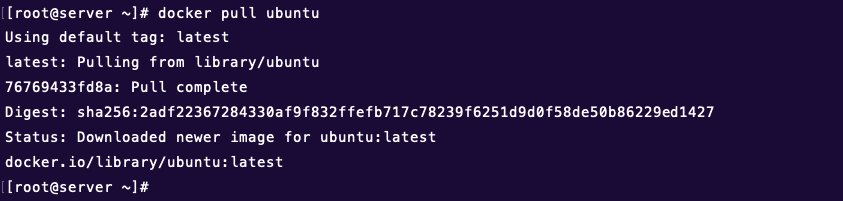
Use the following command to pull the latest Ubuntu image from Docker Hub:
# docker pull ubuntu
Here’s how the command looks in action:
It is easy to accumulate images over time. If you have multiple images or are looking for a specific image, use the following command to list the images that have been downloaded on your server:
# docker images

Now that you know the image is on the server, use the following command to create and start a Docker container using your preferred image.
We’ll use the Ubuntu image we downloaded earlier:
# docker run -it ubuntu
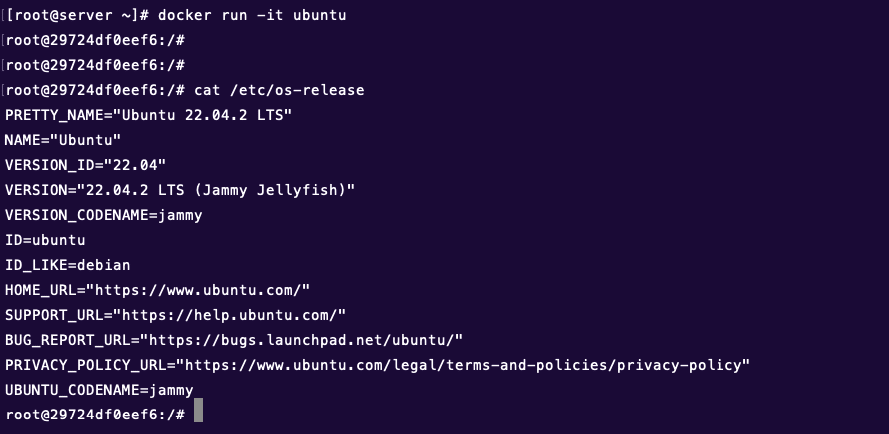
Now you are inside the Ubuntu container and can run commands and other system tasks from here. Once done, enter ‘exit’ to exit the container and return to your OS environment.
You can also list all docker containers – active and inactive, with the command:
# docker ps -a

Now, we can confirm our Docker installation on Rocky Linux 8 is working fine. You can now build your containerized applications with Docker and related tools such as Docker Compose.
Uninstall Docker on Rocky Linux
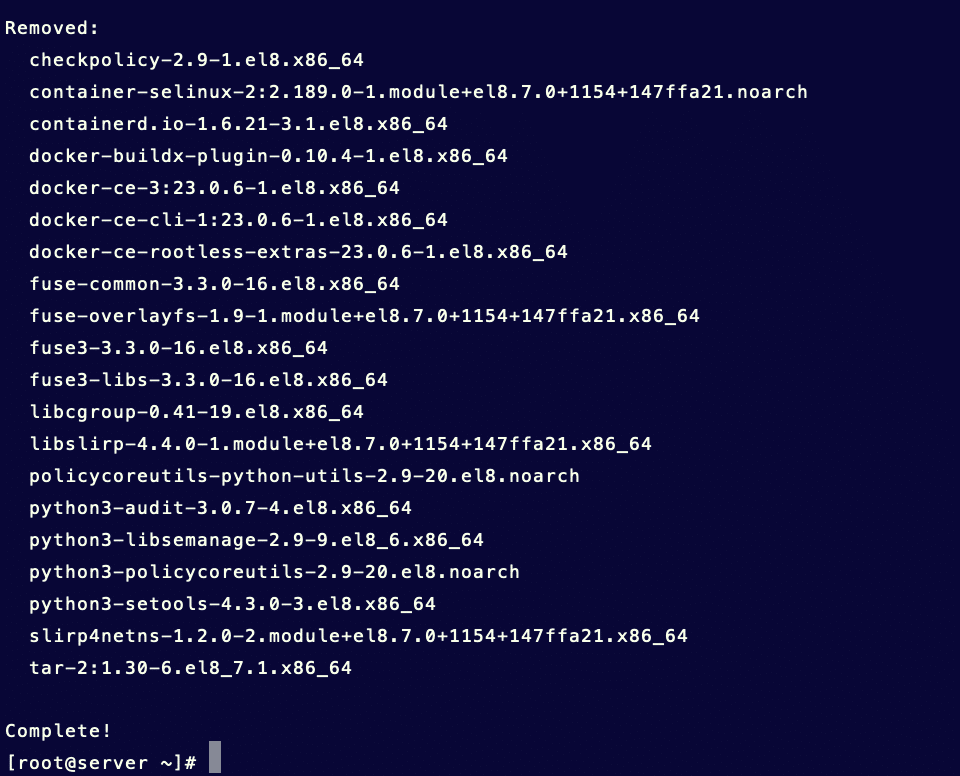
There are times when you need to remove Docker from your server. This requires running three simple commands that remove the core Docker files and all the containers deployed on the platform.
There are times when you need to remove Docker from your server. This requires running three simple commands that remove the core Docker files and all the containers deployed on the platform.
# sudo dnf remove -y docker-ce docker-ce-cli containerd.io
# sudo rm -rf /var/lib/docker
# sudo rm -rf /var/lib/containerd
Conclusion
This article presents the details you need to follow to install Docker on Rocky Linux. This six-step process ensures a smooth installation and configuration of Docker. After the process has been successfully completed, you can download images and deploy containerized applications.
We also discussed how to uninstall Docker on Rocky Linux in a straightforward process.
We hope that you follow this actionable guide for installing Docker on Rocky Linux.
FAQ
1.What causes the following error when installing Docker on Rocky Linux?
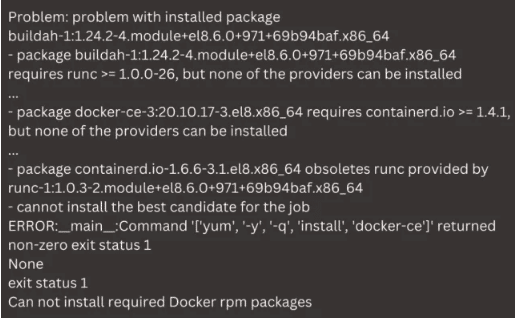
Answer:
Run either one of the following commands from the terminal:
# yum remove runc podman
Or
# dnf remove @container-tools
The first statement removes the Podman utility from the machine, while the second one removes the container-tools module in Rocky Linux. This error occurs due to a conflict between these Docker tools. Removing either of them will resolve the issue.
