MySQL, a widely used open-source Relational Database Management System (RDBMS), offers cross-platform compatibility, functioning seamlessly on Windows, Linux, Solaris, macOS, and FreeBSD.
In addition to its versatility, regular updates and the need for customization often necessitate periodic uninstallation and reinstallation. This process is essential for troubleshooting, upgrading to newer versions, and ensuring compatibility with other software.
This comprehensive guide provides detailed, step-by-step instructions on how to uninstall MySQL from Linux, Windows, and macOS systems. Following the steps will help you uninstall MySQL easily and without any errors. A clean uninstall is crucial for reinstalling it later or keeping your system clean for other RDBMS.
Table Of Contents
How to Uninstall MySQL on Linux, Windows, and macOS
Before you start uninstalling MySQL, it’s essential to know that the steps vary depending on your operating system. Let’s first look at what you need to have in place to begin the uninstallation process.
The Prerequisites
- A system with MySQL installed on it.
- Ensure you have admin privileges for executing commands and making system-wide changes during uninstallation.
Uninstall MySQL on Linux
Uninstalling MySQL on a Linux system involves using the operating system’s default package manager (for instance, APT in Ubuntu) to remove the MySQL packages. However, simply removing these packages might not delete all the configuration files and data.
To completely remove MySQL and all its associated data from your Linux system, you’ll need to use the rm command, which allows you to delete any remaining files manually. While this guide focuses on Ubuntu, the general principles and steps apply to other Linux distributions with slight modifications, mainly in the commands for package managers.
Follow these steps to safely uninstall MySQL from your Linux system.
- Open the terminal (usually, Ctrl + Alt + T) and stop the MySQL server with the following commands.
# sudo service mysql stop
# sudo killall -KILL mysql mysqld_safe mysqld

- Now, depending on your package management and Linux distribution, use one of the following commands to remove MySQL from the system.
CentOS, RHEL, and Rocky Linux:
# sudo yum remove mysql-client mysql-server -y
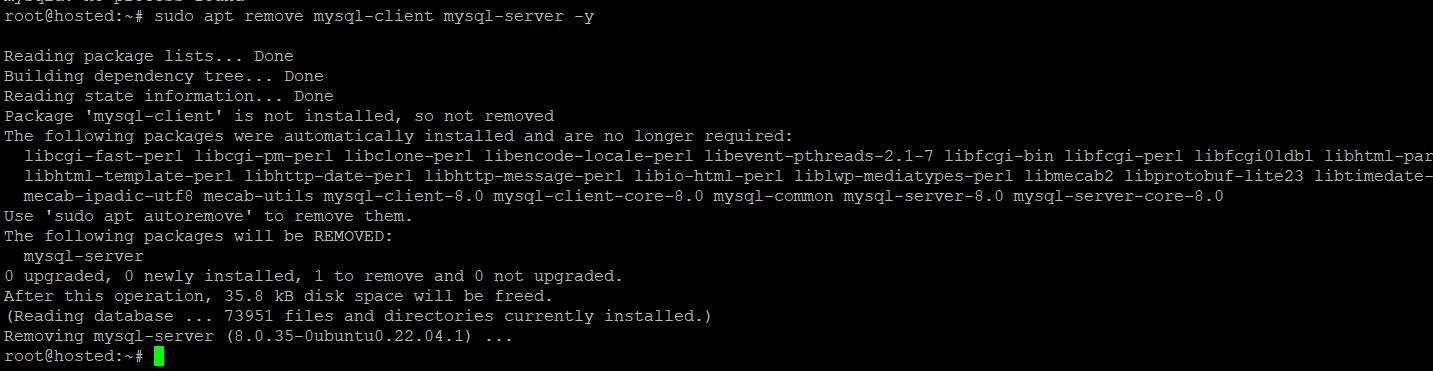
Debian and Ubuntu:
# sudo apt remove mysql-client mysql-server -y
Fedora Linux:
# sudo dnf remove mysql-client mysql-server -y
- After uninstalling the core MySQL package(s), the next step is to remove residual data. If you still need the data, consider making a backup before removing it or renaming the directory:
# sudo mv /var/lib/mysql /var/lib/mysql_directory_backup
Alternatively, remove MySQL-related directories by running this rm command:
# sudo rm -rf /etc/apparmor.d/abstractions/mysql /etc/apparmor.d/cache/usr.sbin.mysqld /etc/mysql /var/lib/mysql /var/log/mysql* /var/log/upstart/mysql.log* /var/run/mysqld
- The last step is to remove the MySQL user and delete the MySQL group if it exists on your system:
# sudo deluser --remove-home mysql
# sudo delgroup mysql
Once you’re done with these steps, MySQL is no longer available on your Linux system. We recommend modifying these steps based on your Linux distribution and preferences.
Uninstall MySQL on Windows
Follow these steps to remove MySQL from a Windows machine,:
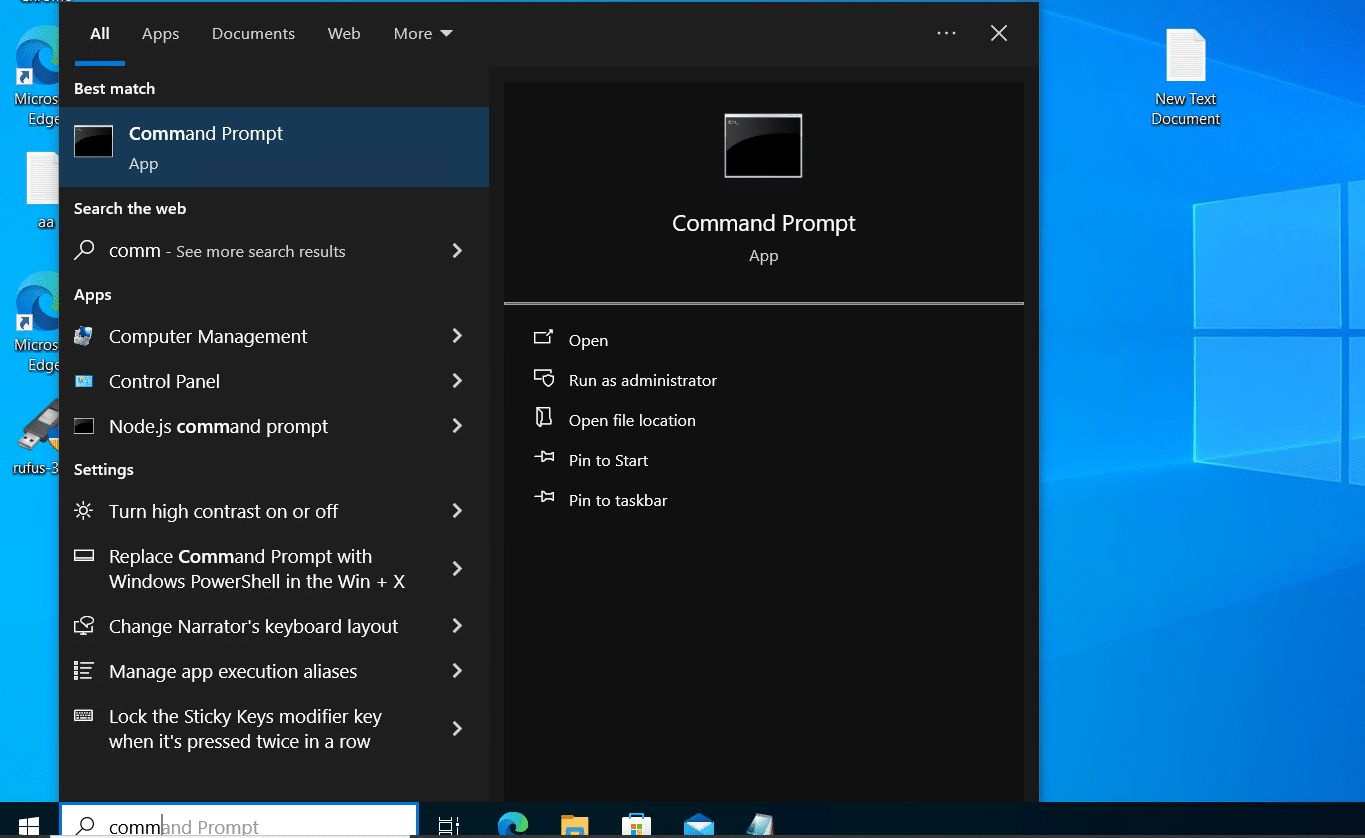
- Press the Windows key, search for Command Prompt, and run it as an administrator.
- Access its bin directory within the installation path via the Command Prompt.
cd C:\Program Files\MySQL\MySQL Server 8.0\bin

- Now, halt the MySQL server operations by executing the following command:
> mysqladmin -u root -p shutdown
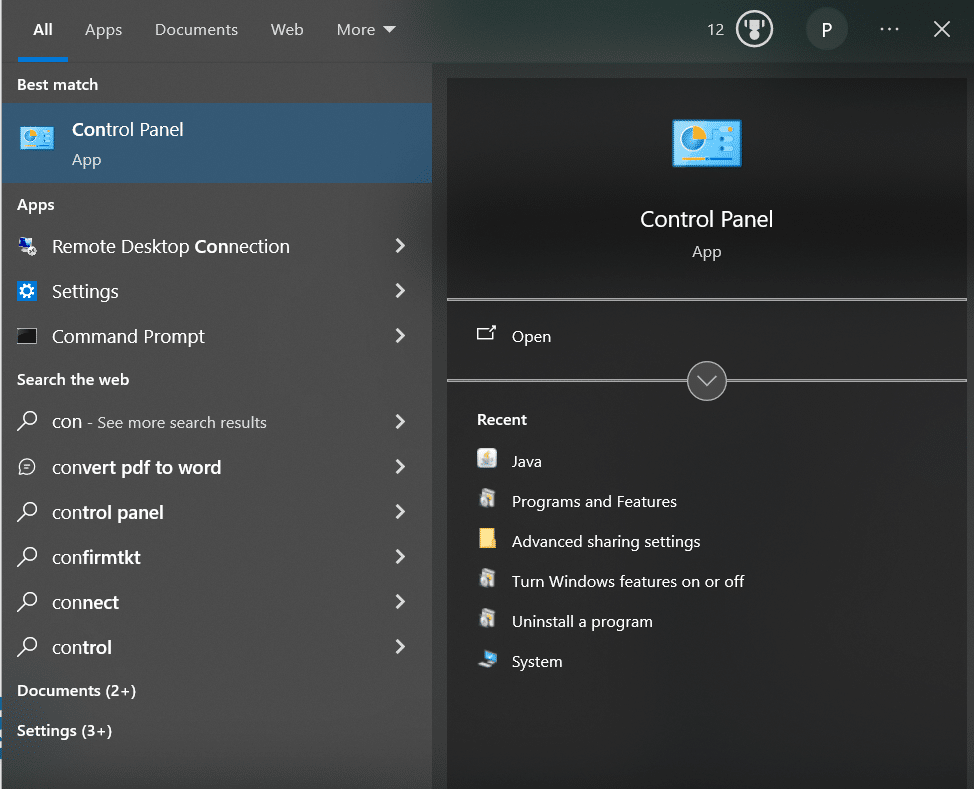
- The command will ask for your admin password and switch off the server. Now, uninstall MySQL on Windows by opening the Control Panel, clicking Programs and Features, and looking for MySQL and any related software. We recommend uninstalling each entry individually.

- Click Yes for prompts and go through the stages of the wizard.
- After uninstalling MySQL, remove any leftover data folders. You should also unhide the hidden files by clicking View and selecting Hidden items. In particular, you should remove the following directories:
- After uninstalling all components and deleting the remaining directories, restart the computer for the changes to take effect.
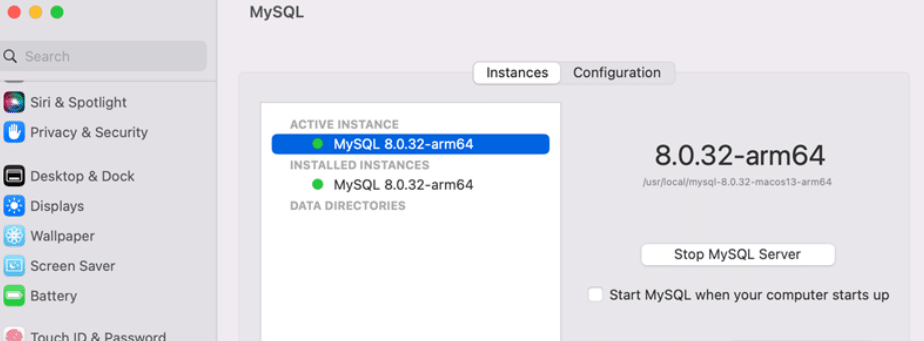
Uninstall MySQL on macOS
To remove MySQL from a macOS system, follow these steps:
- In System settings, find MySQL and click ‘Uninstall’ to remove it.
- Click on the Launchpad icon in the Dock, search for Terminal, and open it to start a new terminal window.
- Remember to back up important data before removing MySQL. For backing up, use the following mysqldump command:
$ ./mysqldump -u root -p --all-databases > mysqlbackup.sql
As you can see, this command redirects the output to the mysqlbackup.sql file.
- Check for running MySQL processes using this command:
$ ps -ax | grep mysql
- Terminate the running processes with the following command:
$ kill [process_id]
- Now, run the following commands to delete the MySQL directory and any remaining files:
$ sudo rm /usr/local/mysql
$ sudo rm -rf /usr/local/mysql
$ sudo rm -rf /usr/local/var/mysql
$ sudo rm -rf /Library/StartupItems/MySQLCOM
$ sudo rm -rf /Library/PreferencePanes/MySQL*
$ sudo rm -rf /Library/Receipts/mysql*
$ sudo rm -rf /private/var/db/receipts/*mysql*
It is crucial to remove directories if you are installing an older MySQL version on your Mac. For this, use a text editor to open the /etc/hostconfig file and remove the following line:
$ MYSQLCOM=-YES-
Now, you have successfully uninstalled MySQL on macOS.
Also Read: 3 Simple Methods to Delete Duplicate Rows in MySQL Database
Conclusion
This guide has detailed instructions on uninstalling MySQL from Linux, Windows, and macOS systems. It’s important to note that the steps vary depending on your operating system. Follow these steps to uninstall MySQL from your Linux, Windows, and macOS systems without errors. Explore additional MySQL insights, like installing MySQL Workbench on Ubuntu and securing your installation for enhanced performance.
RedSwitches offers the best dedicated server pricing and delivers instant dedicated servers, usually on the same day the order gets approved. Whether you need a dedicated server, a traffic-friendly 10Gbps dedicated server, or a powerful bare metal server, we are your trusted hosting partner.
FAQs
Q. Where is MySQL commonly used?
MySQL is commonly utilized across various applications, including web development, content management systems (CMS), e-commerce platforms, and data warehousing, owing to its data storage and management effectiveness.
Q. Can I reinstall MySQL after uninstalling it?
Yes, reinstalling MySQL is possible after uninstallation. It is important to note that reinstallation may require configuration, importing data from backups, and ensuring compatibility with your applications.
Q. Why should I consider uninstalling MySQL?
Uninstalling MySQL becomes necessary to address bugs, resolve compatibility issues, or achieve a clean system reinstall for optimization purposes. This process may involve removing configuration files, ensuring security updates, and preparing for the installation of previous versions if needed.
Q. Is the method to uninstall MySQL the same for all Linux distributions?
While the general steps are similar, specific commands may vary depending on the distribution. This tutorial focuses on Ubuntu, and users may need to adapt commands for other distributions, considering aspects such as configuration files and security updates.
Q. What precautions should I take before uninstalling MySQL on Linux?
Before uninstallation, it’s crucial to back up critical data stored in MySQL using the mysqldump command. This ensures you have a copy of your databases, including security patches and configuration files.
Q. How do I stop MySQL services on Linux before uninstalling?
To stop MySQL on Linux, open the terminal and use the command # sudo service mysql stop to halt MySQL services. Then, use # sudo killall -KILL mysql mysqld_safe mysqld to end any MySQL processes. This is important for managing configuration files and ensuring a trouble-free uninstallation.
Q. What directories should I remove after uninstalling MySQL on Linux?
After uninstallation, remove directories such as /var/lib/mysql, /etc/apparmor.d/, and others mentioned in the tutorial. This guarantees a complete uninstallation, including any leftover configuration files and security updates.
Q. Can I reinstall an older version of MySQL on macOS after uninstalling?
Yes, it’s possible to reinstall an older version of MySQL on macOS. However, removing all MySQL components, including directories, is crucial to accommodate earlier versions, such as those compatible with macOS Sonoma.
Q. How do I back up MySQL databases before uninstalling on macOS?
Before uninstalling MySQL on macOS, back up databases using mysqldump with the command ./mysqldump -u root -p –all-databases > mysqlbackup.sql. This ensures the preservation of crucial data, including security patches and configuration files.
Q. Is it necessary to restart my computer after uninstalling MySQL?
We strongly recommend restarting the computer after uninstalling MySQL to ensure that all changes, including those related to configuration files and security updates, take effect, leaving your system in a clean state.
Q. Where can I find high-end gaming dedicated servers?
For excellent gaming setups, check out RedSwitches’ high-quality dedicated gaming servers. Go to RedSwitches for outstanding performance suited for PCs, supporting a wide range of Windows versions, including older ones.
