
Git is a popular version control tool that’s used by development teams all over the world. An important reason behind the popularity of Git as a version control system for projects’ code is its compatibility with all OS and development workflows.
Developers use it as an important tool in the creation of software systems because it facilitates developer collaboration by keeping track of contributors and their revisions to the project.
Let’s start with the prerequisites of installing Git on your Ubuntu server and then go into the details of how you can use Git commands for version control.
Prerequisites For Installing Git on Ubuntu
To install Git on your Ubuntu server, you’ll need the following:
- An Ubuntu server, running version 20.04 or higher.
- A non-root user with sudo privileges
Before installing Git on an Ubuntu server, it is always a good idea to check if Git is already installed on your server. This helps avoid complications that could arise from multiple installations of a software package.
How To Verify If Git Is Already Installed On The Ubuntu Server?
Use the following command to check if Git is installed on your ubuntu server:
# git --version

Now that we’ve established that Git is not installed on our test server, we can proceed with the installation part.
Install Git On Ubuntu Server
There are two ways you can install Git on an Ubuntu server. Given Git’s versatility, we’ll mention them both to help you pick out the best fit for your project.
Install Git On Ubuntu Server From the Ubuntu Repository
You can install Git by using the APT package manager. You should be aware that the Git package in the official Ubuntu Packages repository might not be the latest version. This happens because Ubuntu prefers stability over recency. However, the package is still a good choice if you prefer a stable version control system for your projects.
Here are the steps of the process.
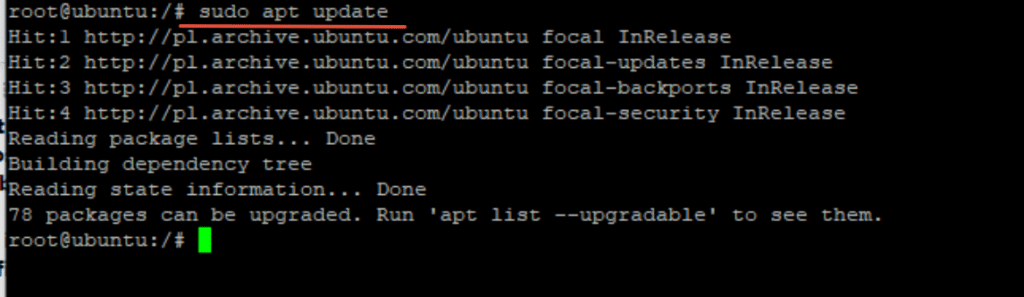
Launch the terminal, and start by updating the server package index. Use the following command:
# sudo apt update
Once the command finishes, the next step is to install Git by downloading the Git package and installing it with the following command:
# sudo apt install git
Once the command finishes, Git is installed on the Ubuntu server.
Finally, verify that the installation is successful by checking the version of Git on the server. For this, use the following command:
# git --version
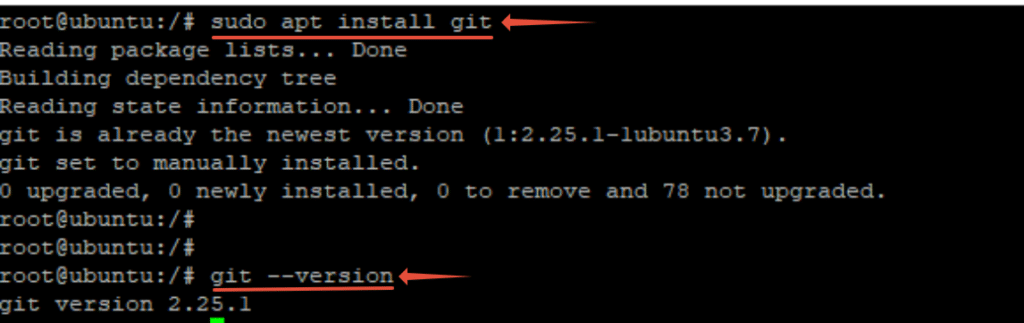
As you can see, you can see the version of the Git package installed on the server.
Install Git on Ubuntu Server From The Official Source
This method takes longer but ensures that you have the latest version Git on your Ubuntu machine.
During the process, you’ll download the dependencies and then build the installation so that you have better control over the process.
Let’s start with updating the package index with the following command:
# sudo apt update
The next step is to download the packages that are required for the Git package compilation. These are known as dependencies. For this, use the command:
# sudo apt install make libssl-dev libghc-zlib-dev libcurl4-gnutls-dev libexpat1-dev gettext unzip -y
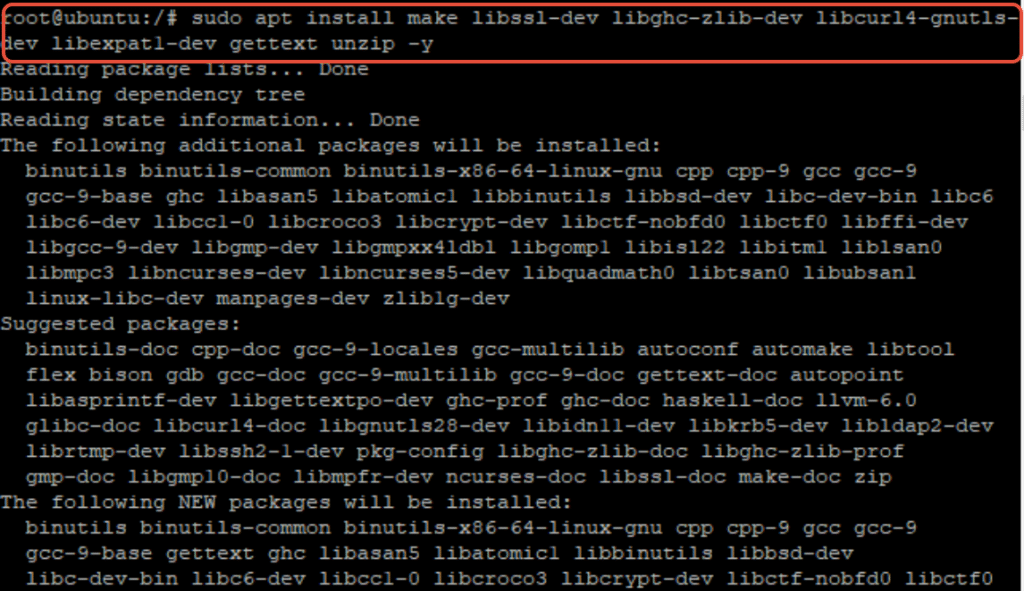
At this point, the packages have been updated, and the dependencies are available for the upcoming steps.
Now, we need to set up the directory structure that we’ll need for the next steps.
To set up this structure, create a new temporary directory named temp_dir.
# mkdir temp_dir

# cd /temp_dir

With the directory structure in place, the next step is to get the Git compressed archive. Launch the browser and in a new tab, go to the official Git archive list. Here, you’ll see a list of all the available versions.
Since we’re interested in installing the latest Git version, scroll down to the end of the list, and get the version number of the latest release. At the time of writing this tutorial, the latest release was 2.9.5
We’ll use the curl command with the appropriate version number to download the archive. Note that the downloaded file will be renamed git.tar.gz.
# curl -o git.tar.gz
https://mirrors.edge.kernel.org/pub/software/scm/git/git-2.9.5.tar.gz

After the command finish running, we need to uncompress the archive with the following command:
# tar -zxf git.tar.gz
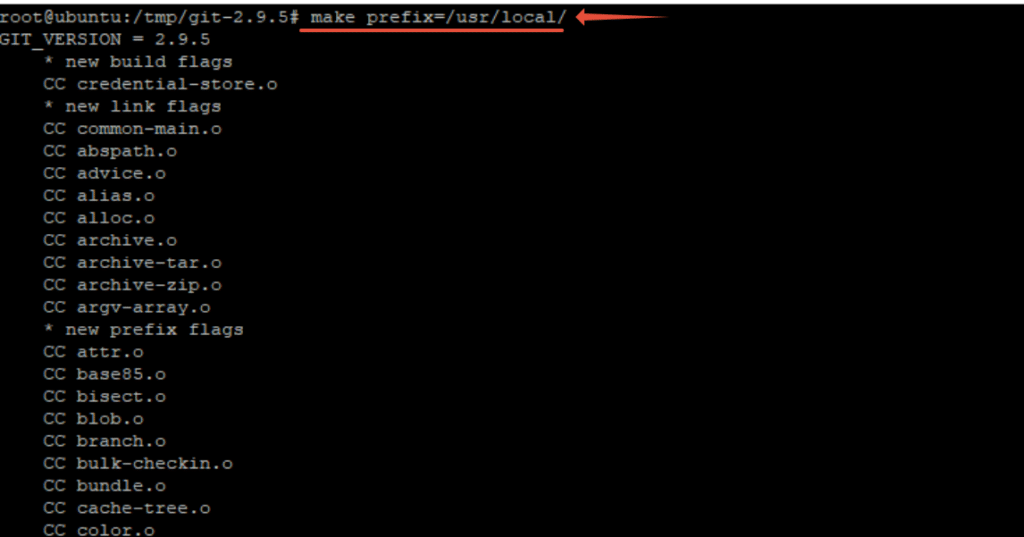
Now we need to compile the Git package that would be installed on the Ubuntu server.
Move to the directory with the CD command:
# cd git-*

Next, compile the package with the make command:
# make prefix=/usr/local/
Now that the package has been compiled, it is ready for installation. We’ll use the following command for this step:
# sudo make prefix=/usr/local install

After the command finishes, Git is installed on the Ubuntu server. As always, you should verify it by checking the Git version:
# git --version

Conclusion
This article covers the basics of installing and setting up Git on an Ubuntu server. Git is a popular version control system that is indispensable in keeping track of changes in code by all the developers working on a project.
We hope you can now install Git on your Ubuntu server and start using it for your collaborative development workflow.
