
Webmin is a powerful, web-based server management control panel for Unix-like systems.
It simplifies tasks such as user account creation, disk quota management, file configuration, and system updates by allowing administrators to manage and configure their servers in their preferred web browser.
In this comprehensive tutorial, we’ll walk you through the process of installing Webmin on Ubuntu 20.04 and 22.04 and present the five essential steps.
Table Of Contents
Install Webmin on Ubuntu 22.04
Let’s discuss the installation of Webmin on Ubuntu 22.04. However, before that, let’s take a look at the prerequisites of the installation process.
The Prerequisites
Before installing Webmin, ensure you have the following:
- A system running Ubuntu 20.04 or 22.04.
- A user account with sudo or root privileges
- A static IP address or domain name
Ensuring these requirements are met before proceeding with the Webmin installation is a simple way of avoiding any compatibility or performance issues.
Step #1: Update and Upgrade the Ubuntu Package List
Before running the installation, update and upgrade the local system package index with the following command:
# sudo apt update && sudo apt upgrade -y
Here, sudo apt update refreshes the list of available packages, while sudo apt upgrade -y upgrades all installed packages to their latest versions available in the official Ubuntu package repositories and sources.

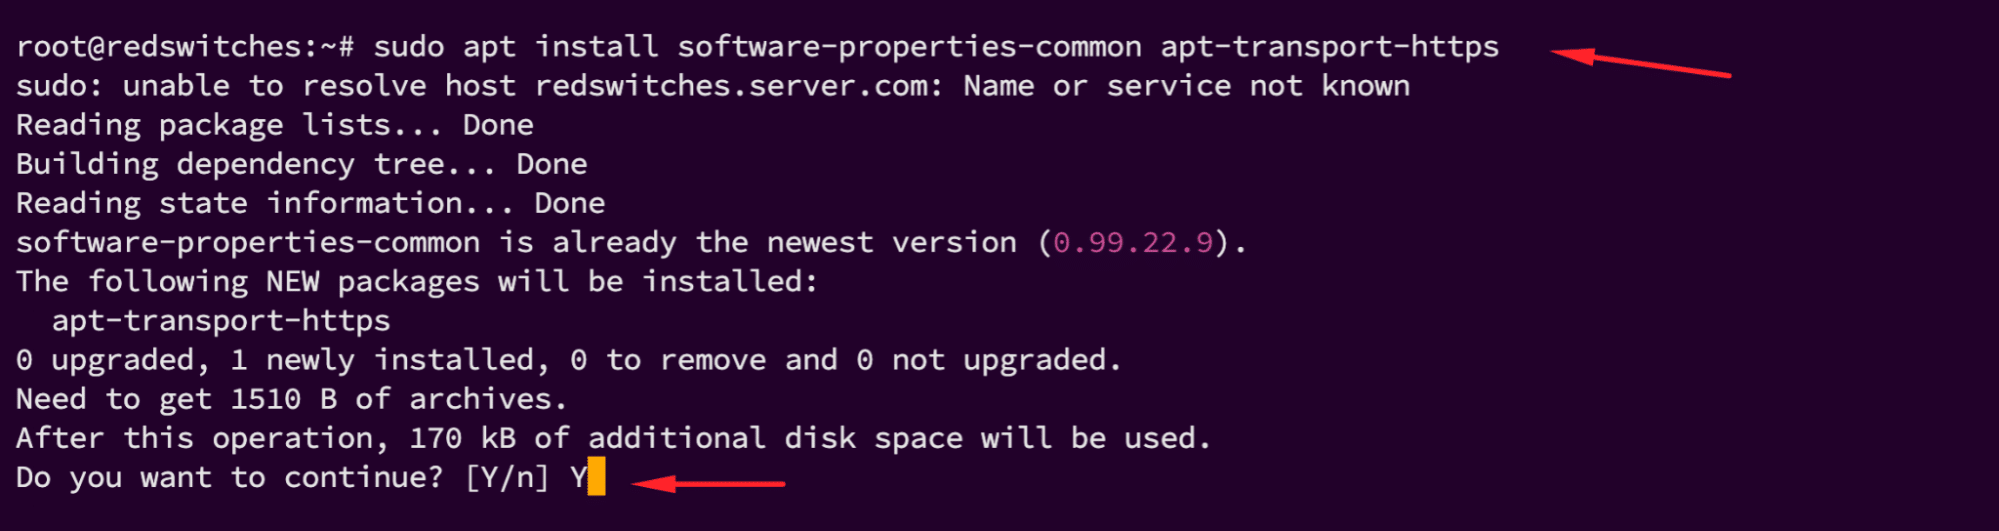
Install Dependency Packages
Once the packages are upgraded, install the dependency packages to manage the software repositories:
# sudo apt install software-properties-common apt-transport-https
Step #2: Enable the Webmin Repository
You should note that the default Ubuntu repository does not include Webmin. Therefore, before the actual installation, you need to add the Webmin repository to your system.
You can opt for one of the following methods:
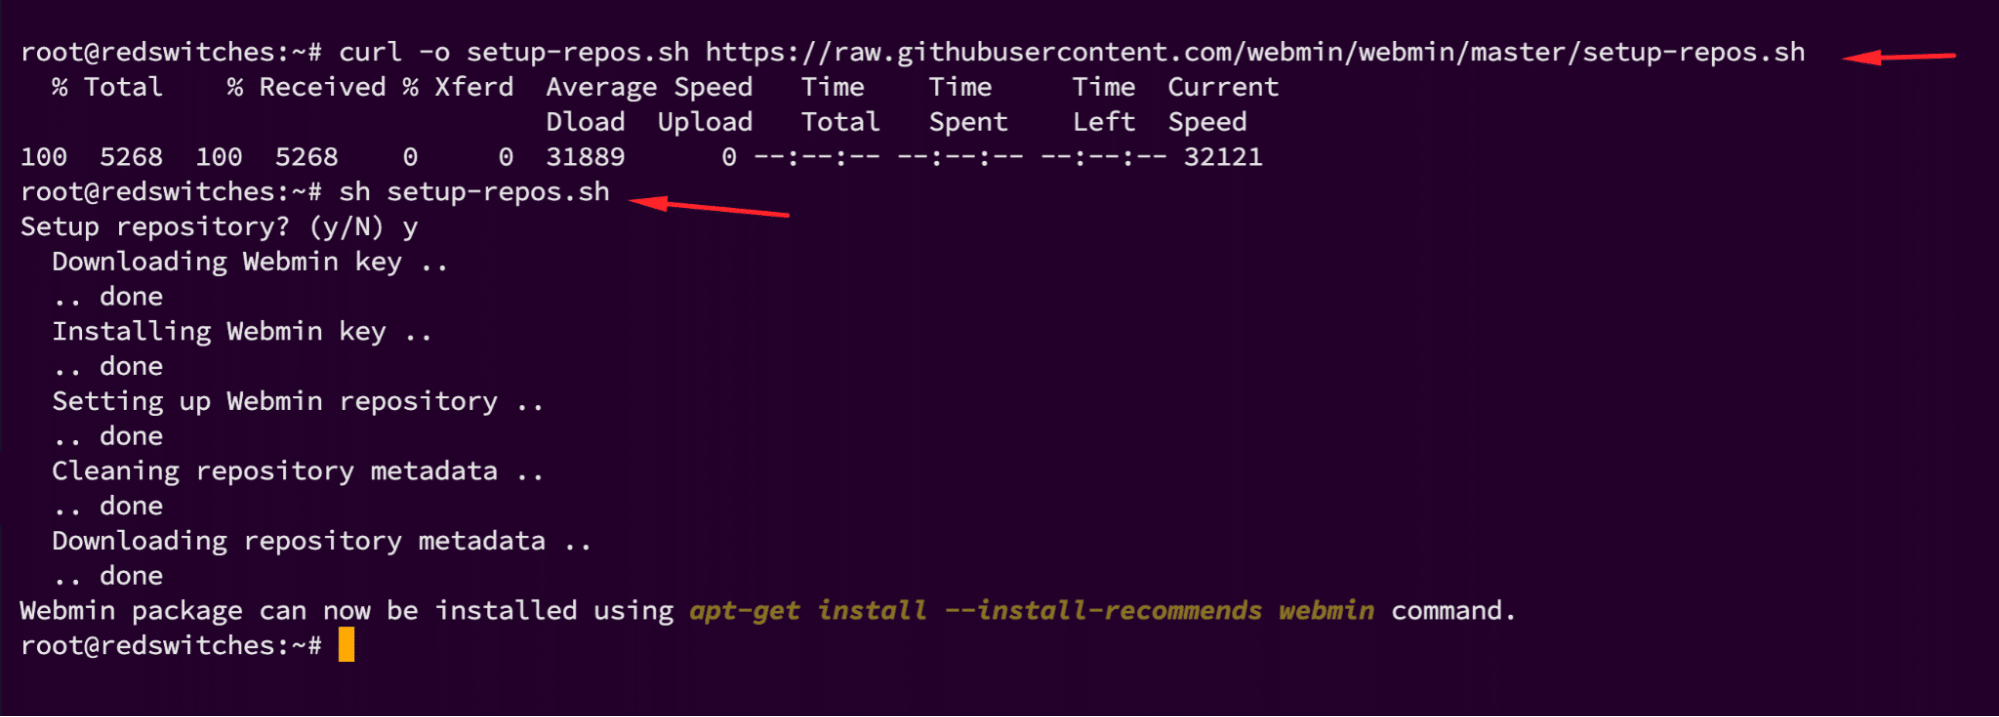
Method #1: Import the Script to Configure Repositories
Webmin offers a script that simplifies adding the repository and associated validation key to your system. For this, run the following cURL command:
# curl -o setup-repos.sh https://raw.githubusercontent.com/webmin/webmin/master/setup-repos.sh

sh setup-repos.sh
sh setup-repos.sh
This command downloads and executes a script from the Webmin project to configure the repository on your system.
Method #2: Add the Webmin Manually
You can replicate the process of Method #1 by manually running through the steps.
Start by adding the Webmin’s GPG key to your system with the following wget command:
# sudo wget -q http://www.webmin.com/jcameron-key.asc -O- | sudo apt-key add -
Next, manually add the Webmin repository with this add-apt-repository command:
# sudo add-apt-repository "deb [arch=amd64] http://download.webmin.com/download/repository sarge contrib"
This command downloads the Webmin GPG key, adds it to your system, and adds the Webmin repository.
Step #3: Install Webmin on Ubuntu
Now that you have added the Webmin repository to the system, install the package with the following command:
# apt-get install --install-recommends webmin
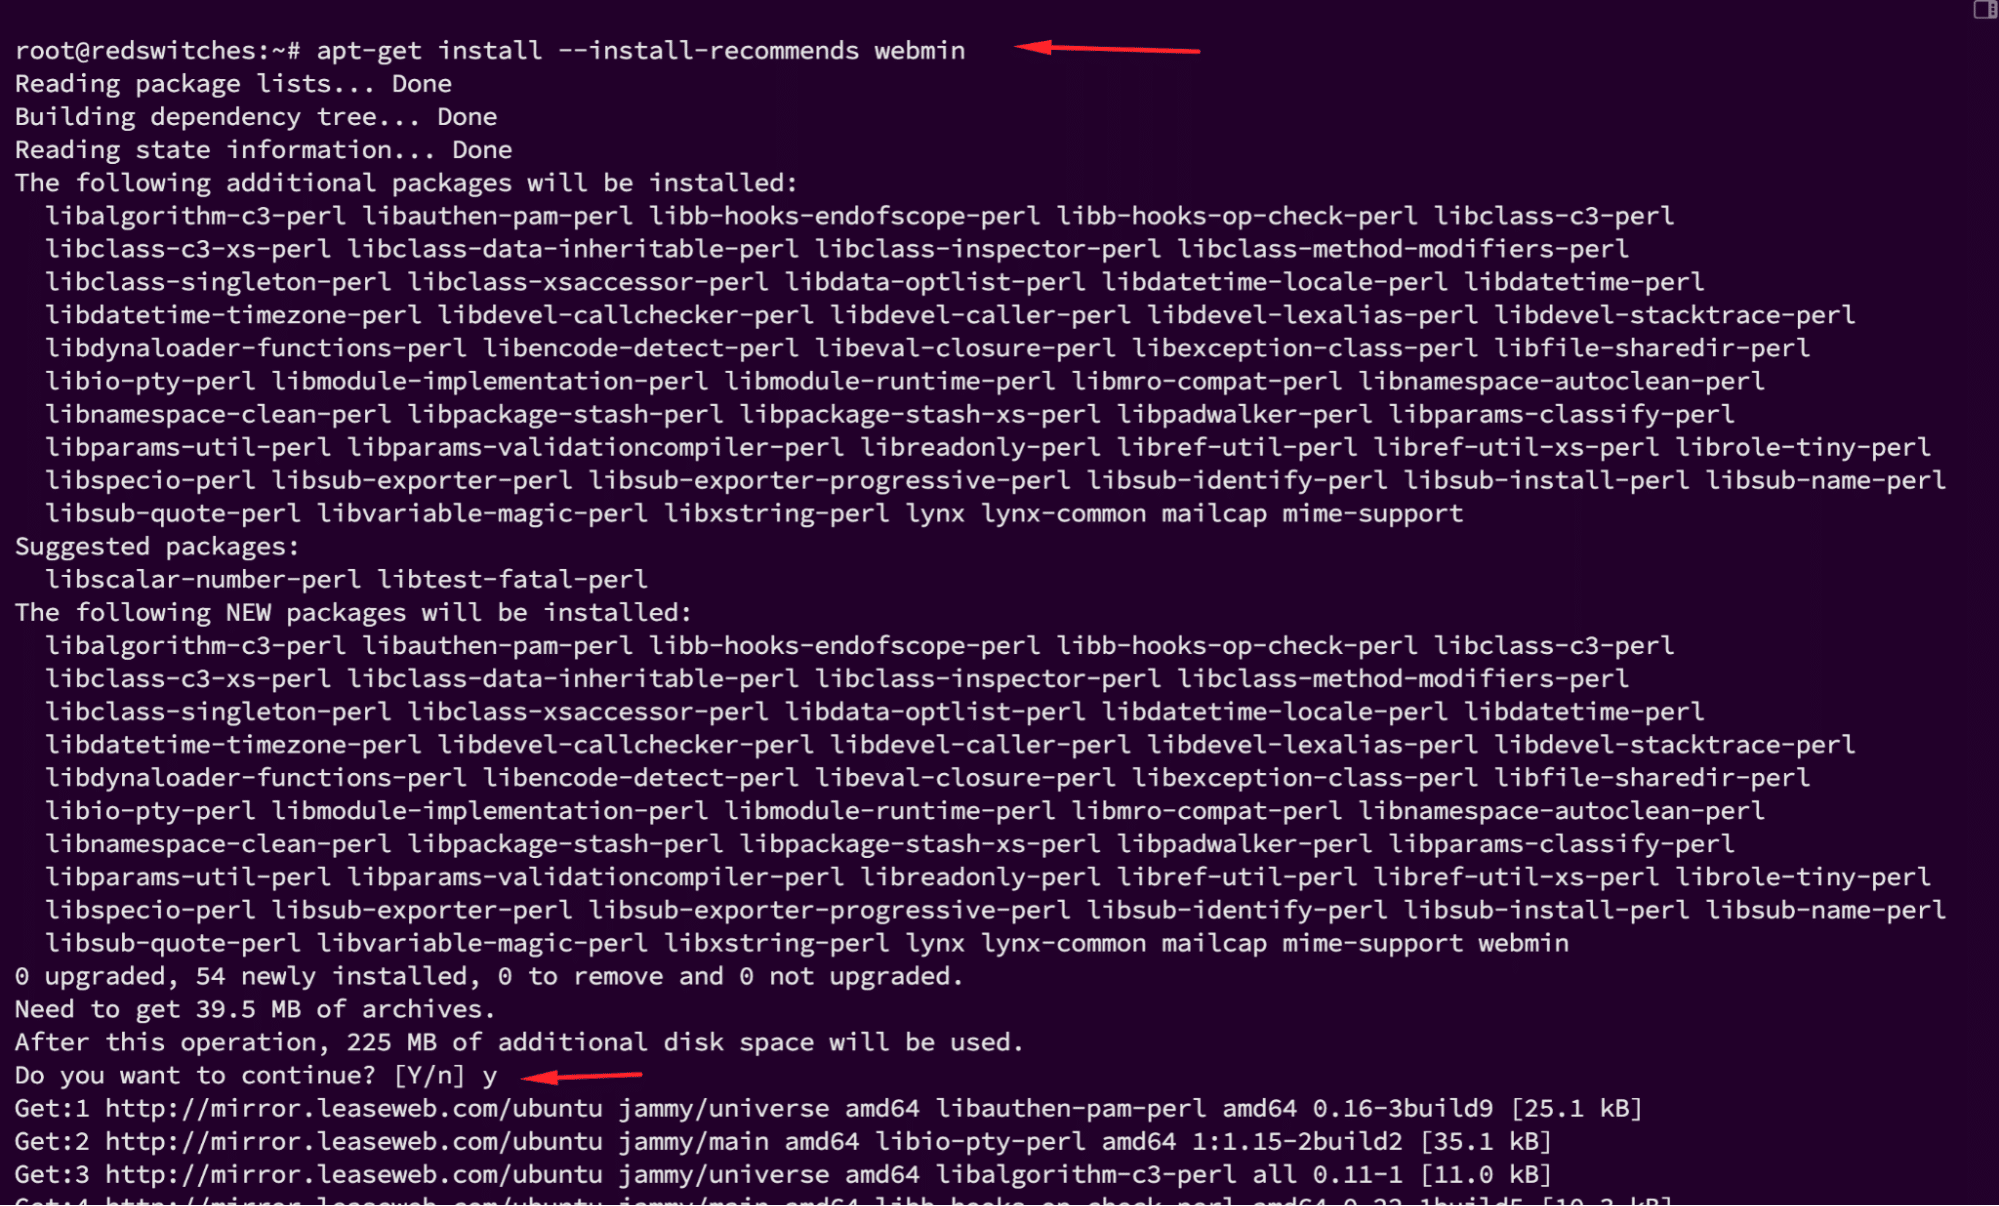
Important: During the installation, the system automatically configures Webmin to start at system boot.
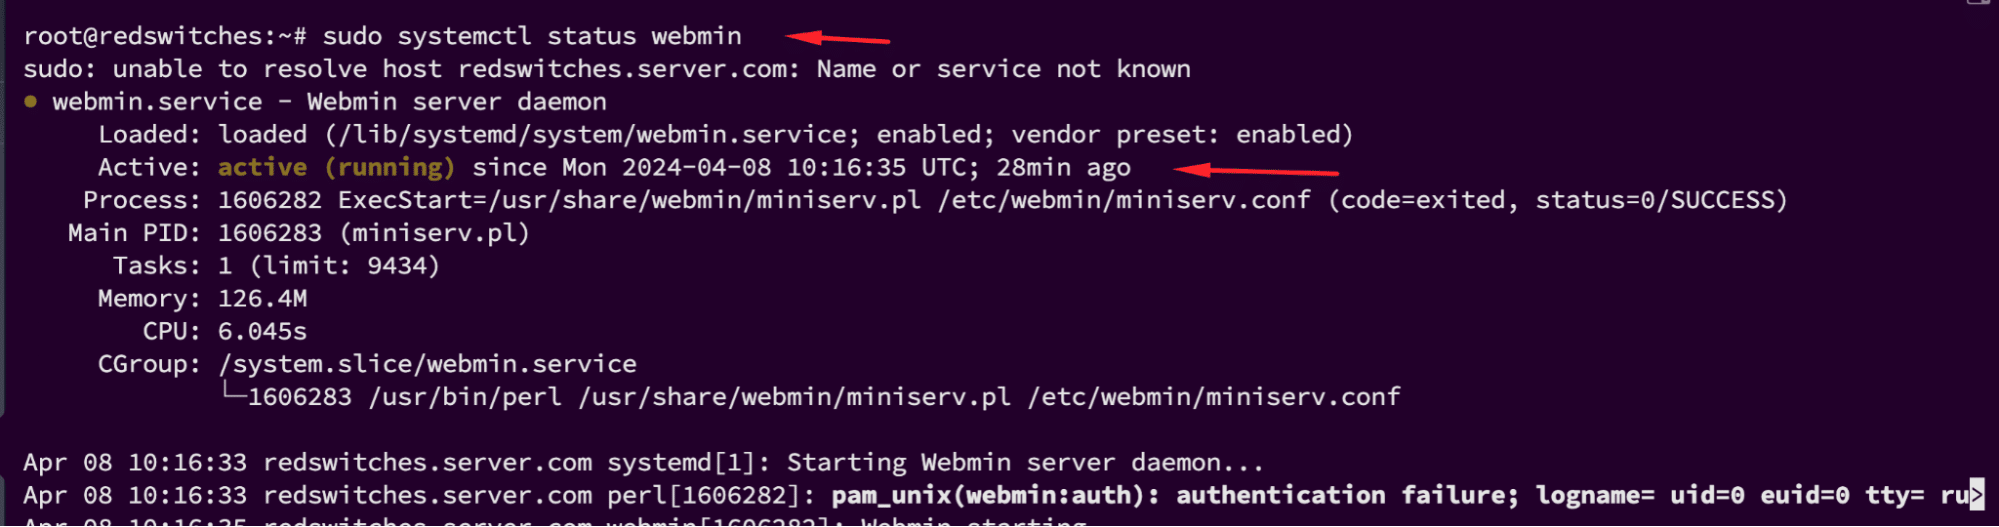
Once the installation is finished, we strongly recommend checking the Webmin status:
# sudo systemctl status webmin
Step #4: Configure the Firewall to Allow Traffic to the Webmin Port
By default, Webmin uses TCP port 10000. If you use a firewall such as UFW (Uncomplicated Firewall), you need to allow traffic to port 10000. For this, run the following command in the terminal:
# sudo ufw allow 10000/tcp

This command configures the firewall to allow incoming connections on the Webmin port.
Next, reload the firewall for the changes to take effect:
# sudo ufw reload
Note: The firewall is disabled on Ubuntu by default. If your system’s firewall is disabled, enable it by running the sudo ufw enable command in the terminal.

Step #5: Access Webmin on Ubuntu
At this point, Webmin is installed on your system and the firewall is configured, you can access the software.
Set Webmin Root User Password
The first step is to set the password for the Webmin root user. Note that this password should not be the same as the system’s root user account.
Run the following command in the system’s terminal:
# sudo /usr/share/webmin/changepass.pl /etc/webmin root [new password}
Next, open your web browser and navigate to https://your_server_ip:10000. Log in using your Ubuntu username and password.
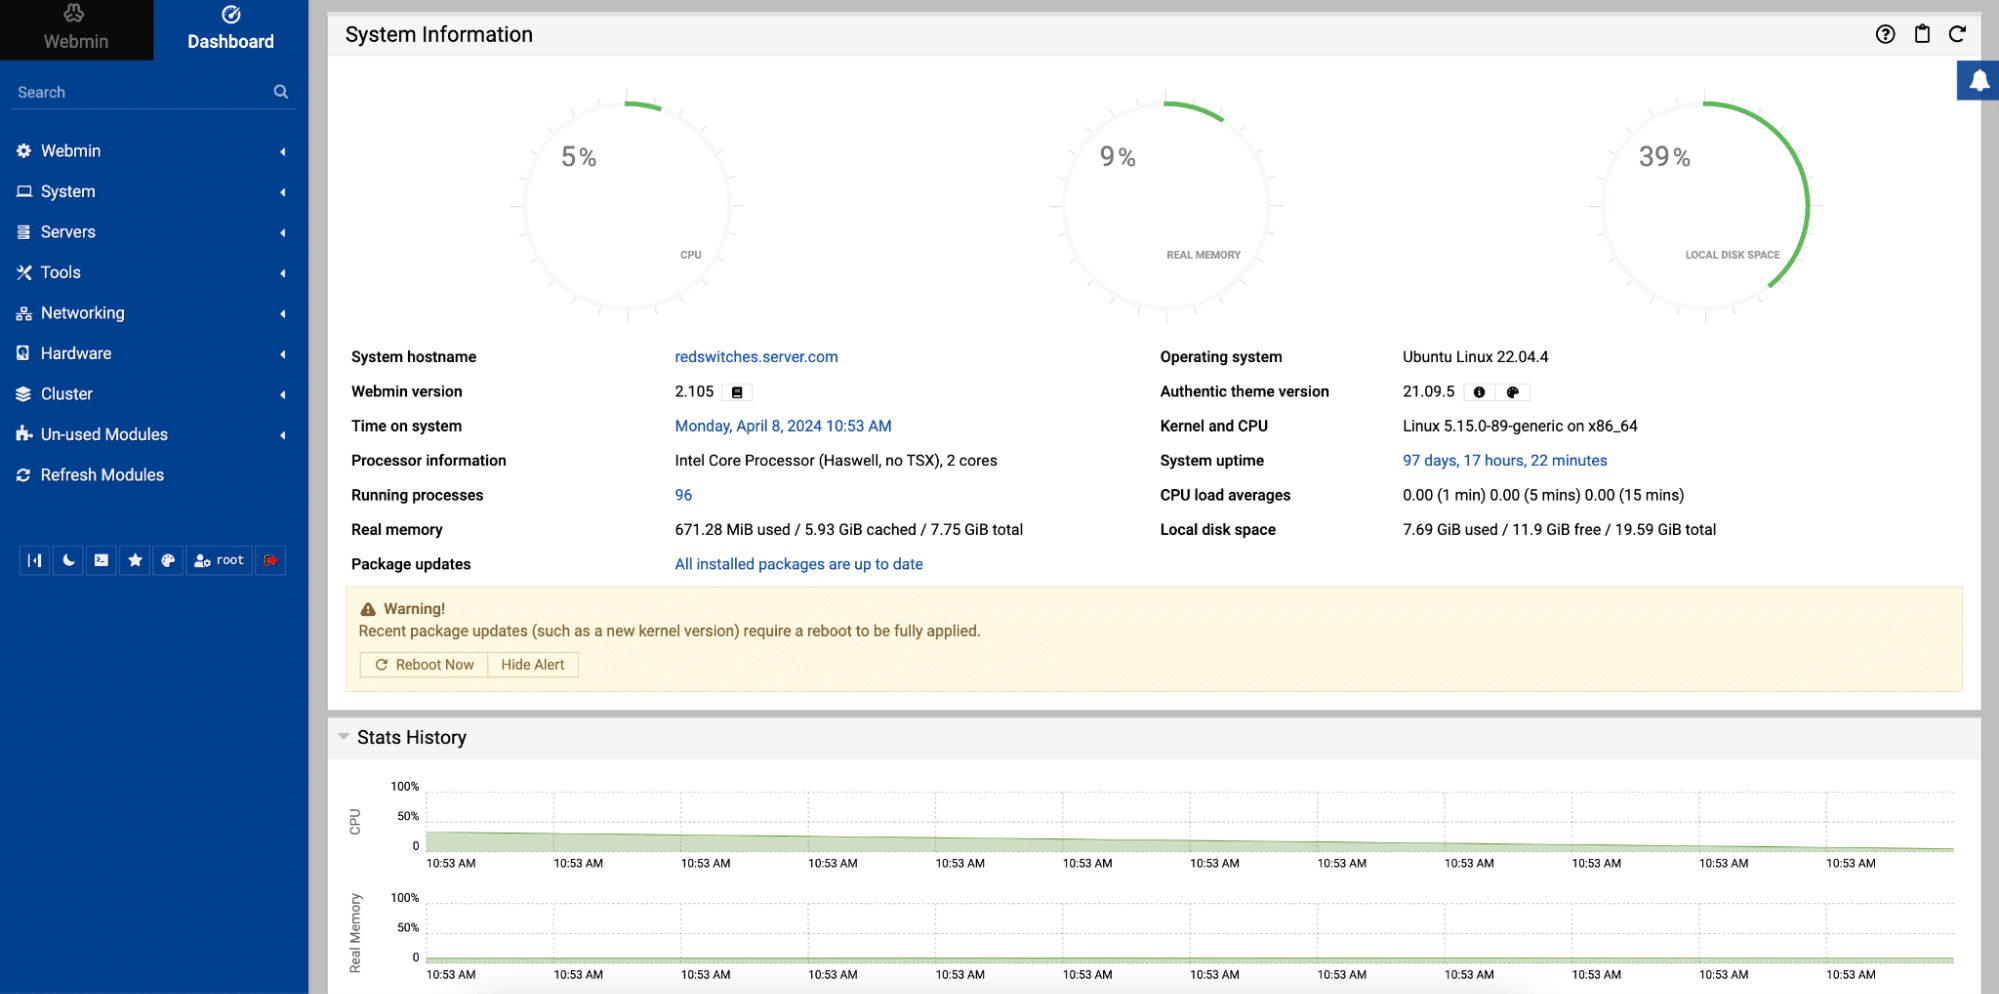
You should now see the Webmin dashboard, where you can start managing your server.
Note: Webmin may initially display a security warning in your browser due to a self-signed SSL certificate. The warning can be ignored if you are certain you are connecting to your own server. For enhanced security, consider obtaining a trusted SSL certificate for Webmin.
Conclusion
With Webmin, system administration becomes more manageable, allowing you to control your server’s functions through a comprehensive web interface. For those managing multiple servers, consider using a reliable hosting provider like RedSwitches for their bare metal hosting solutions.
At RedSwitches, we’re dedicated to helping you discover the perfect server solutions to drive your business to new heights. So, if you’re looking for a robust server, we offer the best dedicated server pricing and deliver instant dedicated servers, usually on the same day the order gets approved. Whether you need a dedicated server, a traffic-friendly 10Gbps dedicated server, or a powerful bare metal server, we are your trusted hosting partner.
FAQs
Q. How do I install Webmin on the Ubuntu 20.04 server?
To install Webmin on the Ubuntu 20.04 server
- Update Ubuntu Package
- Enable Webmin repository
- Install Webmin on Ubuntu
- Configure the firewall
- Access Webmin on Ubuntu,
Q. Can I use a self-signed SSL certificate with Webmin on Ubuntu 20.04/22.04?
Yes, you can use a self-signed SSL certificate with Webmin on Ubuntu 20.04/22.04. This allows you to secure the Webmin interface using HTTPS
Q. How can I add the Webmin PGP key to my Ubuntu 20.04/22.04 server?
You can add the Webmin PGP key to your Ubuntu 20.04/22.04 server using:
# ubuntu@jain:~$ wget -qO- http://www.webmin.com/jcameron-key.asc | sudo apt-key add
Q. What is the process for setting up a hostname in Webmin?
Setting up a hostname in Webmin involves accessing the Webmin interface, navigating to the appropriate section for hostname configuration, and entering the desired hostname information.
Q. How can I manage my server firewall using Webmin?
You can manage your server firewall by accessing the firewall configuration section within the Webmin interface. You can then set rules, open ports, and monitor firewall activity.
Q. What is the significance of using Webmin to manage a web server?
Webmin is a web-based tool that allows you to manage various aspects of your server, including web server configurations, DNS settings, virtual hosts, and more. It provides a user-friendly interface for server administration tasks.
Q. How do I start the Webmin service on Ubuntu 20.04/22.04?
To start the Webmin service on Ubuntu 20.04, you can use systemd commands or the service management tools provided by your Linux distribution. Ensure that the Webmin service is running properly after starting it.
