System administrators often use multiple terminals to run commands and view their impact. In other cases, admins need to keep specific terminals up and running because of commands that consistently update in the terminal.
One approach is to use multiple desktops for these terminals. However, this is an inefficient method where you would be juggling between multiple screens. Alternatively, you can use the Linux screen command.
This command enables users to manage multiple distinct terminal sessions within a single terminal window interface. You can also leverage an advanced command-line interface, providing users with additional features and functionalities beyond those in a typical command-line environment.
In this tutorial, we will discuss how to install and use the Linux screen command. In addition to the basic configuration, we will see four scenarios where you can apply the command to your advantage.
Table Of Contents
How to Install screen on Linux
The screen command in Linux comes pre-installed in many modern distributions, such as Ubuntu 20.04 or CentOS 8.
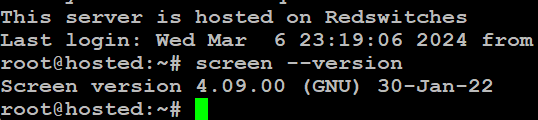
So, before you start working with the utility, you should confirm its presence on your system. For this, print out the version information with the following command:
# screen --version
Install screen on RHEL/CentOS
We recommend the following command to install screen on Red Hat / CentOS:
# yum install screen
Install screen on Debian or Ubuntu Systems
Use this command to install screen on Debian/Ubuntu:
# sudo apt install screen
Customizing the screen Utility
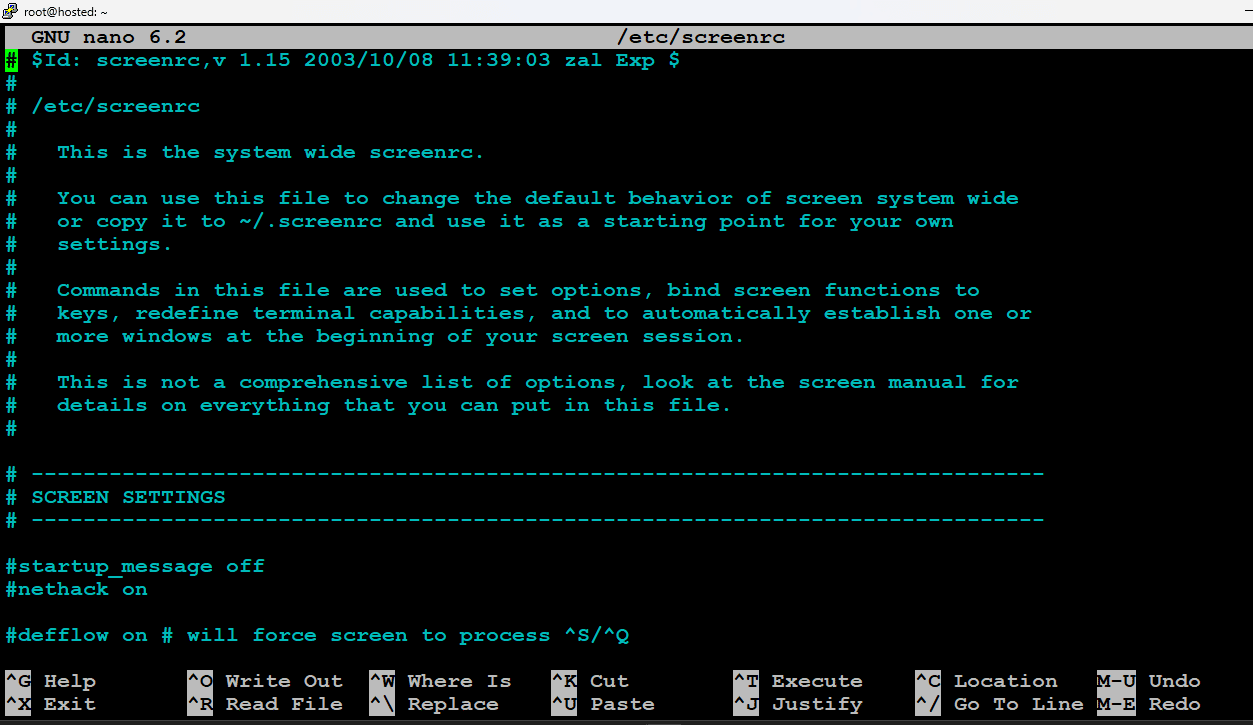
The screen utility follows the standard Linux application setup with the global configuration file located at /etc/screenrc, and the configuration file for individual user settings at ~/.screenrc.
Most of the modifications are applied at the global level. You need to open the screenrc file in your preferred editor. For instance, we will use the following command to open it using Nano:
# sudo nano /etc/screenrc
You can activate many of the settings by deleting the comment (#) symbol from the start of the specific line.
Essential screen Keyboard Shortcuts
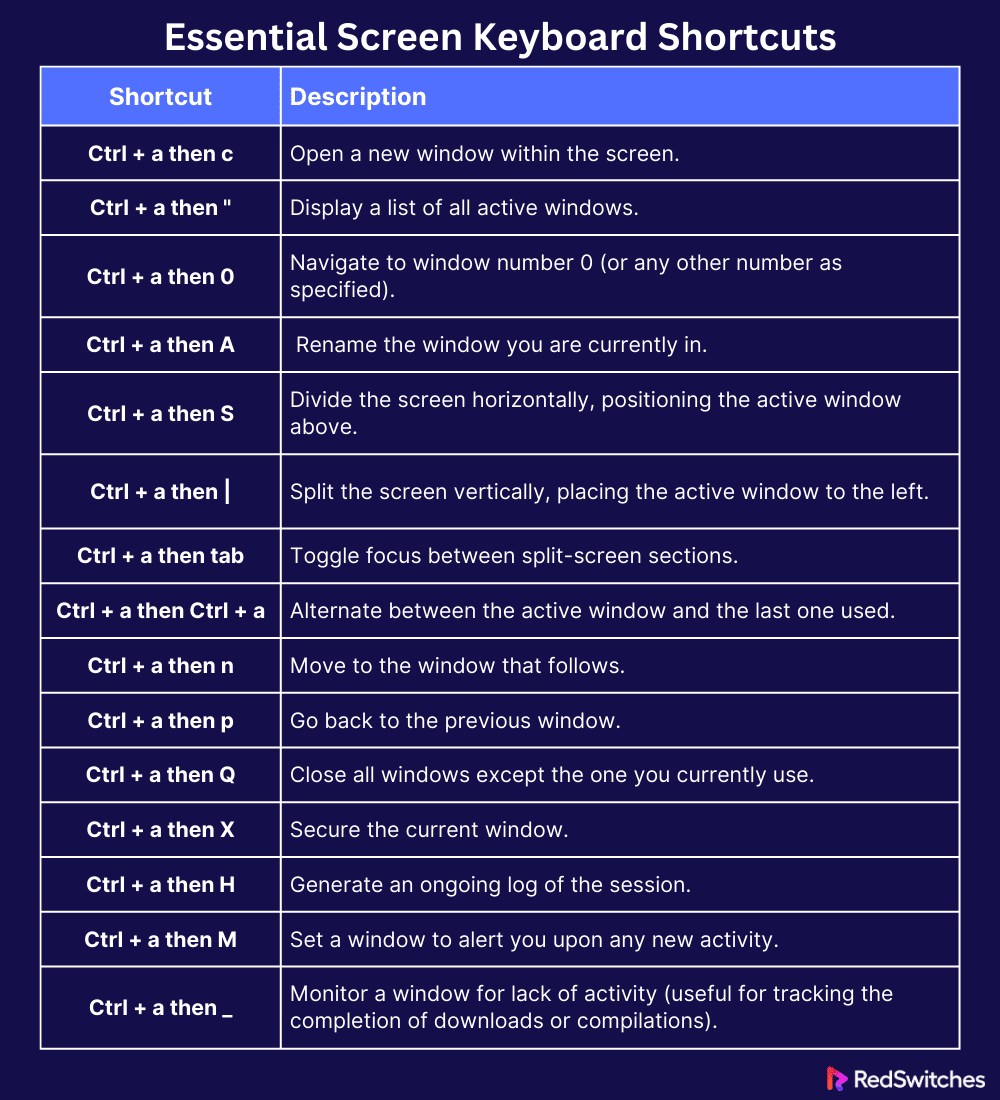
Upon initiating screen, the utility generates a window containing a shell within the screen session. You can create, alternate, and control windows through specific keyboard shortcuts.
The most frequently used shortcuts are as follows:
Examples of the Linux screen in Action
The Linux screen utility is a powerful tool that allows you to manage multiple terminal sessions from a single window. It’s especially useful for long-running processes that you want to keep running even after disconnecting from the server.
Here are some examples of how to use the screen utility:
The Prerequisites
- A system running a mainstream Linux distribution
- An account with root or sudo privileges
Example #1: Start a New screen Session
Run the following command to start a new session and open a new shell:
# screen
The first screen you see is a brief licensing agreement. Simply press the Spacebar to proceed to the following page.
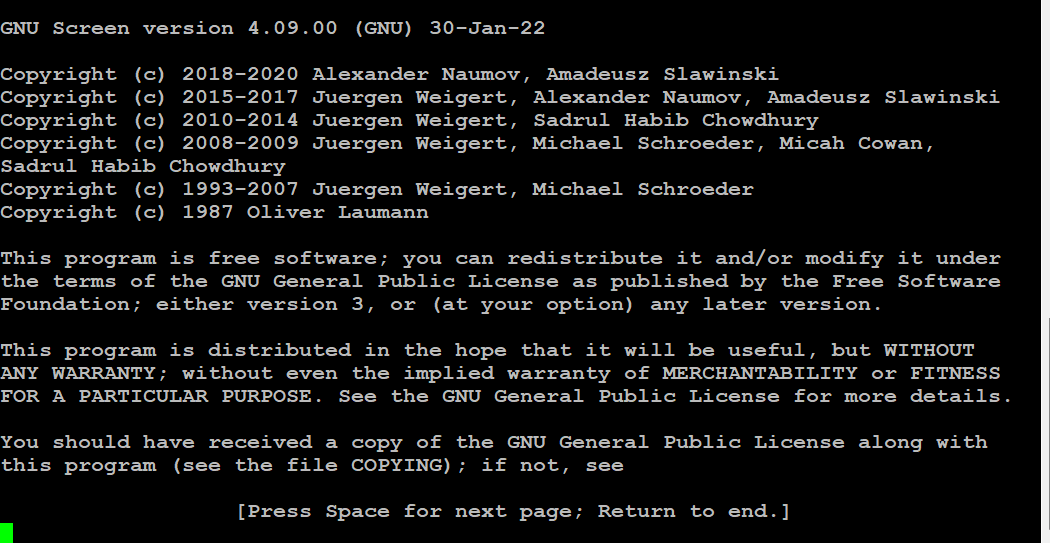
Press the Space key once more to initiate a new screen session.
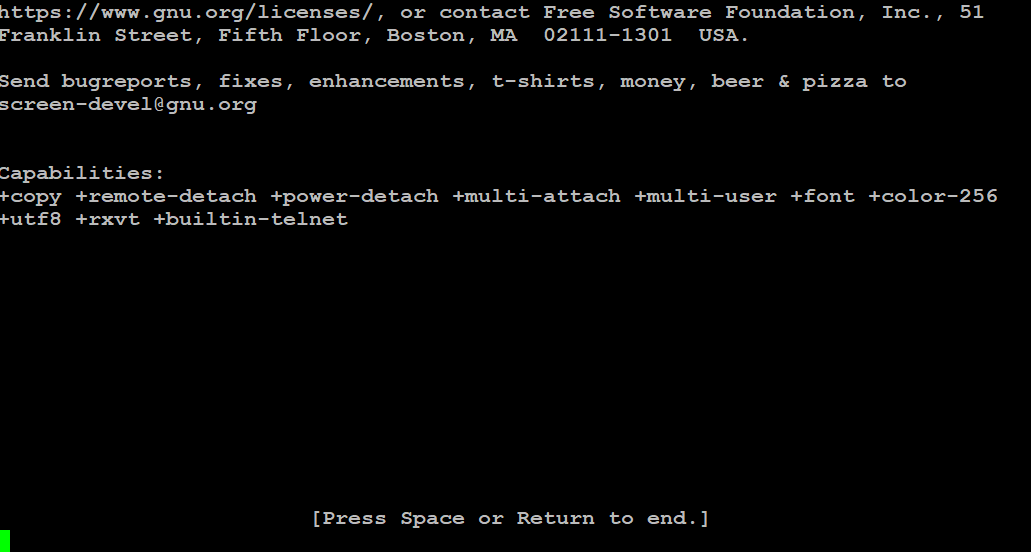
This initial licensing agreement will exit to a command line interface that resembles a standard terminal window.
You can use several keyboard shortcuts (typically, Ctrl + a, then another key) to manage the screen shell. We recommend viewing the full list of these shortcuts by pressing Ctrl + a and then ?
Example #2: Named Sessions
When using screen, we strongly advise assigning names to each session. This allows you to identify specific screen sessions and skip the hassle of stepping through all sessions to find your desired one.
We recommend the following command to start a new session and assign a name to it:
# screen -S session_name
For instance, to initiate a session called RS_screen, execute the following command:
# screen -S RS_screen
Example #3: Detact a screen Session
You can disconnect from a screen session while keeping the window active in the background. For this, use the following keyboard shortcut:
Ctrl + a followed by d
This action exits the user interface but continues the operation within the screen environment. This is akin to minimizing a window in a desktop environment.
You can reconnect with an active screen session by running the following command:
# screen -r
When you have a single-screen instance, you don’t need to enter the session ID. However, in a multi-instance environment, it’s essential to specify the session ID to identify the session you need to reconnect.
You can list the unique ID assigned to a screen session with the following command:
# screen -ls

After obtaining the ID, use it with the screen -r command:
# screen -r sessionID
For instance, to revert screen 157032.RS_screen, execute:
# screen -r 157032.RS_screen
Example #4: Secure the Screen
By default, screen sessions are unlocked. You can activate the screen lock by applying the following keyboard shortcut:
Ctrl + a followed by x
Upon activation, the standard screen-locking feature will prompt you to enter your account password to regain access to the screen.

In addition, the screen enables you to secure a session with a unique password. You must enter this password whenever you try to reconnect to the session.
Run the following command to run a session protected by a unique password:
# password your_password
Substitute your_password with a password that you prefer.
When you attempt to reconnect to the screen that is secured by a password, you will be required to input two passwords to gain access – first, your Linux password and then the password for the screen.
Conclusion
The Linux screen utility significantly enhances users’ command-line efficiency and multitasking capabilities.
With screen, users can seamlessly run multiple commands, switch between various screen windows, and maintain sessions even after disconnecting, providing a robust toolset for any Linux user’s needs.
For those looking for reliable hosting that supports these advanced Linux features, RedSwitches offers the performance and support required for a smooth and efficient experience.
We offer the best dedicated server pricing and deliver instant dedicated servers, usually on the same day the order gets approved. Whether you need a dedicated server, a traffic-friendly 10Gbps dedicated server, or a powerful bare metal server, we are your trusted hosting partner.
FAQs
Q. How do I install Linux Screen in 2024?
To install Linux Screen in 2024, you can easily use the package manager of your Linux system. Simply run the following command: `sudo apt install screen` for Debian-based systems or `sudo yum install screen` for Red Hat-based systems.
Q. What is the Linux screen command used for?
The Linux screen command, also known as GNU Screen, is a terminal multiplexer that allows you to run multiple screen sessions, detach from them, and reattach to them later.
Q. How can I start a Linux screen session?
To start a Linux screen session, simply open your terminal and use the command `screen`. This will create a new screen session for you to work in.
Q. How do I detach from a Linux screen session?
To detach from a Linux screen session without closing it, you can press `Ctrl + A` followed by `Ctrl + D`. This will detach you from the session and leave it running in the background.
Q. How do I reattach to a Linux screen?
To reattach to a Linux screen session that you previously detached from, simply run the command `screen -r` in your terminal. This will reattach you to the last detached screen session.
Q. How can I customize my Linux screen?
You can customize your Linux screen session by editing the `.screenrc` file in your home directory. This file allows you to configure various settings such as colors, key bindings, and window layouts.
Q. What are the benefits of using Linux Screen for multiple windows?
Linux Screen allows you to create and manage multiple windows within a single screen session. This makes it easier to work on multiple tasks simultaneously without requiring multiple terminal windows.
