
On April 23, 2020, the long-awaited stable and latest Long Term Support ( LTS) version, Ubuntu 20.04, also known as Focal Fossa was released. This version will get maintenance updates and support until April 2025.
In this comprehensive tutorial, we will show how to install Ubuntu 20.04 on your system. Before diving into the installation process, let us quickly go through some of the features of Ubuntu 20.04.
Table Of Contents
- Essential Ubuntu 20.04 Features
- Install Ubuntu 20.04 LTS on Your Computer
- After the Installation
- Conclusion
- FAQs
Essential Ubuntu 20.04 Features
Ubuntu 20.04 offers the following features that distinguish it from other versions:
Updated Linux Kernel
Ubuntu 20.04 comes with Linux kernel 5.4. It supports a wider range of processors and USB-C. It ensures faster boot times, saves power, and significantly enhances security.
Improved GNOME Desktop
The desktop GNOME environment has smoother animation and reduced CPU usage, resulting in a more responsive and efficient user experience.
ZFS 0.8.3 File System
The ZFS 0.8.3 file system was introduced as an experimental feature in previous versions. In Ubuntu 20.04, it offers better performance and built-in encryption for improved data security.
Dark Theme
A new, darker look for the interface offers a modern and visually appealing look.
Redesigned Login Screen
The login screen is redesigned for a more user-friendly interface.
Support for Newer Versions of Programming Languages
Updated versions of popular programming languages like Python, Java, and PHP are included to ensure compatibility with the latest libraries and tools.
Now that you have a good idea of Ubuntu 20.04 and its features, let’s dive into how to install Ubuntu 20.04 on your system.
Install Ubuntu 20.04 LTS on Your Computer
Before going into the details, it is important to take a quick look at the prerequisites.
The Prerequisites
Before initiating the installation process, make sure your system has the following specifications:
- A 2GHz dual-core processor
- A minimum of 4GB of memory
- Around 25GB of space available on the hard drive
- A DVD drive or a USB drive
Step #1: Get the Installation media
Visit the Ubuntu Download page in your web browser. Choose the version that fits your computer, for instance, Ubuntu Desktop. Next, click the Download button. The system will save the downloaded file in the default Downloads directory if you do not provide a download location. .
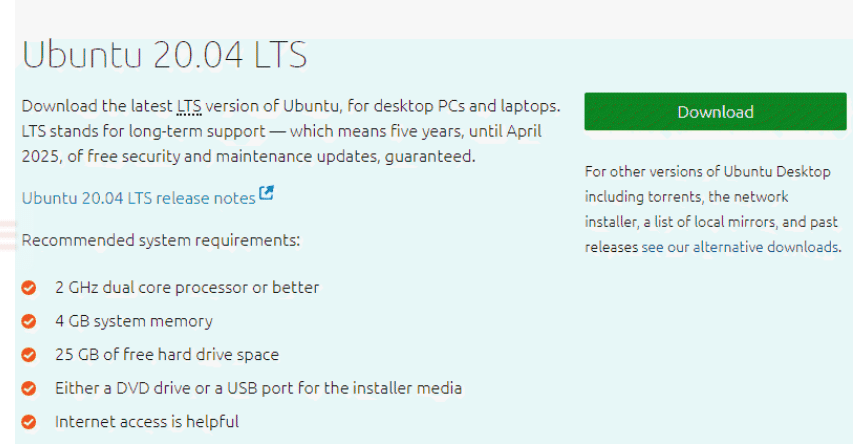
Note: If installing on a virtual machine (such as VirtualBox), you can directly mount the ISO image within the virtual machine software.
Step #2: Make a Bootable USB
Creating a bootable USB drive is one of the key steps in installing Ubuntu 20.04. You’ll require a USB drive of 4GB or more capacity.
We will now discuss the process of creating a bootable USB in Ubuntu and Windows environments.
Create a Bootable USB in Ubuntu
- Search for Startup Disk Creator and open the tool.
- If it’s not installed, the Software Center will prompt you to install it.
- Choose the Ubuntu 20.04 ISO file.
- Select the USB drive option and open the utility.
- Click Make startup disk.
- Your bootable USB is ready once the Startup Disk Creator formats the USB drive and copies the necessary files
Create a Bootable USB in Windows
- Download the Rufus utility by clicking the link in the download section for the latest version.
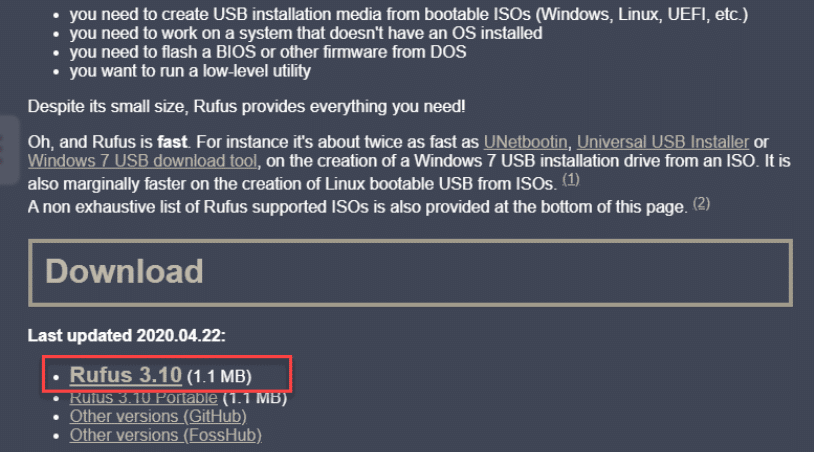
- Once downloaded, run the file.
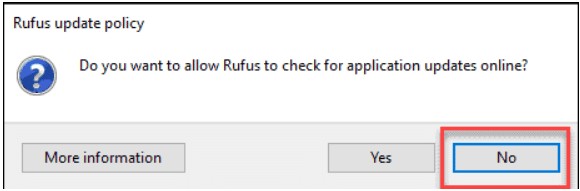
- A pop-up dialog will appear, asking if you want to check for online updates. Choose NO to save time.
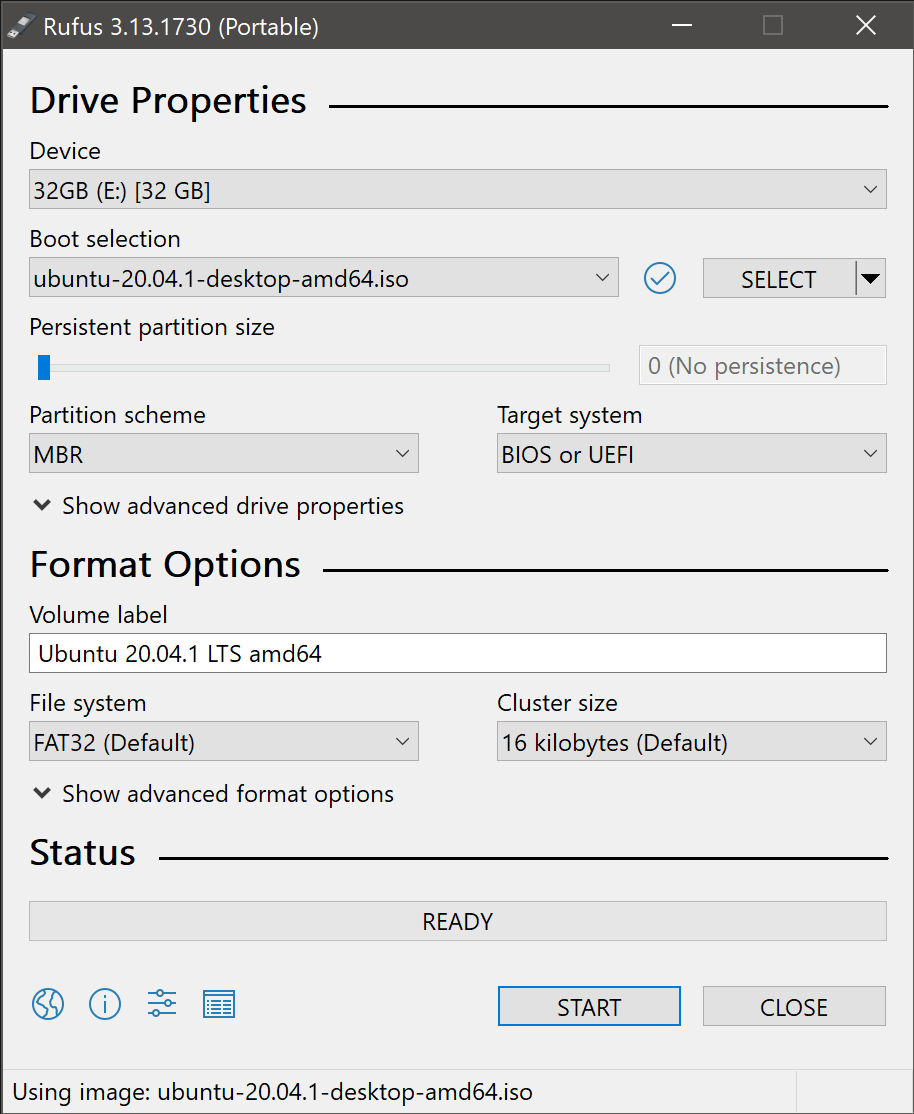
- Once launched, plug in your USB drive and find the Device dropdown menu within Rufus.
- Choose the target USB drive.
- Set the BOOT selection option to Disk or ISO Image.
- Click the Select button and find the Ubuntu 20.04 ISO file you downloaded.
- Click Start.
Step #3: Boot Up Ubuntu from the USB
Turn off your system and remove any other USB devices. Plug in the Ubuntu USB drive and turn on your system.
If the system does not boot from the USB automatically, access the boot menu or BIOS by repeatedly tapping the boot menu key as soon as the system turns on.
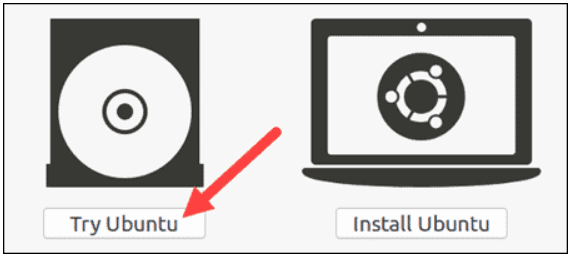
Step #4: Run Ubuntu Without Installation (Optional)
You can try Ubuntu 20.04 without committing to a full installation by selecting Try Ubuntu.
Step #5: Install Ubuntu 20.04 LTS Desktop
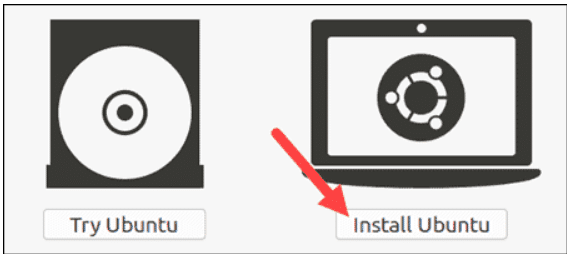
Launch the Installation
To install Ubuntu, locate the installer application (usually named Install Ubuntu) in the live environment. Double-click the icon to begin the installation process. Click Continue to proceed.
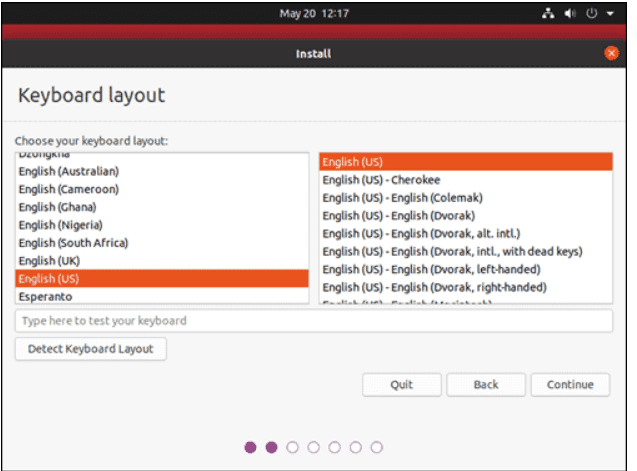
Keyboard Layout Selection
By default, the system is likely to select English as the default language and keyboard setup. If you have a different keyboard, choose it from the list or click Desktop Keyboard Layout.
Test your keyboard if needed. Click Continue when ready.
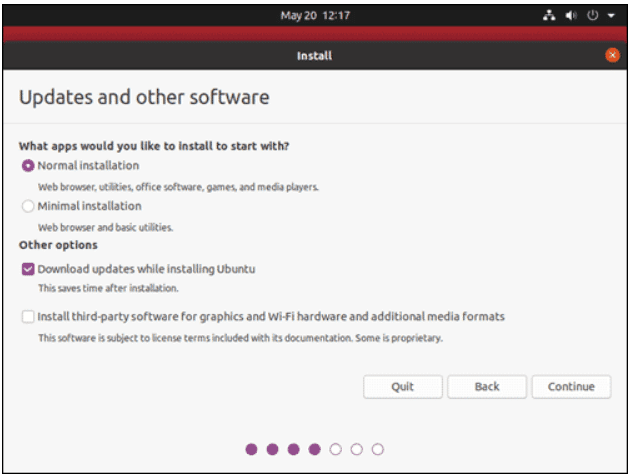
Choose Installation Option
During the installation process, you’ll be prompted to choose between Normal Installation and Minimal Installation.
Here’s a brief overview of these two types:
- Normal Installation: This option provides the complete Ubuntu desktop experience, including office software, games, and media players.
- Minimal Installation: This option saves disk space by excluding certain components like media players.
Download Updates
During the installation process, you will have two other options:
- Download updates while installing Ubuntu: This allows you to download critical updates for Ubuntu packages in the background while the installation progresses on your system.
- Install third-party software for graphics, Wi-Fi, and additional media formats: Enabling this option provides support for hardware such as graphics and Wi-Fi cards, as well as additional media formats like .wmv.
Set up Disk Partition
In the next dialog box, you can choose to erase the disk and install Ubuntu to wipe the hard drive clean for Ubuntu installation.
If you choose to do the above, skip the following steps.
If you are an advanced user, you can opt for advanced features, such as editing disk partitions and setting options like LVM. In addition, you can encrypt the new Ubuntu installation for security. You can also opt to erase the disk and use ZFS
(Note: Avoid this setting on mission-critical production systems.)
To create your hard drive partitions, choose Something Else. This option allows you to create custom partition tables and logical drives. .
Click Continue to apply your changes to the drive partition scheme.
Select Time Zone
After formatting disk partitions, the installer will prompt you to select your time zone. This sets your Local Time Zone. Click Continue to proceed.
Create a User Account
The final step involves setting up your user account to access the Ubuntu system. Start by entering your name, system name, username, and a strong password. You also need to decide whether to log in automatically or require to enter a password at every login attempt.
Click Continue to proceed with the Ubuntu installation.
After the Installation
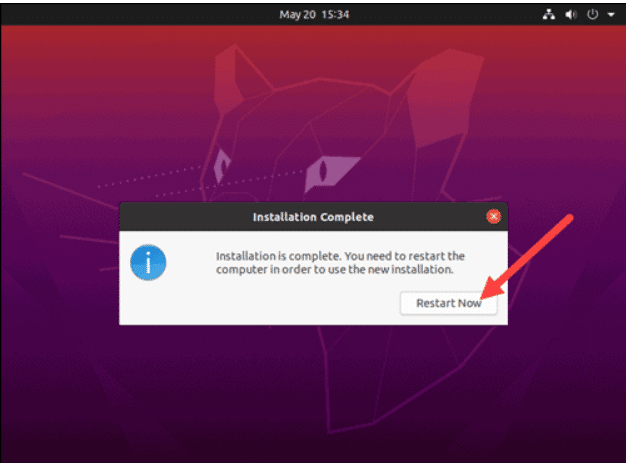
Once the installation is complete, remove the Ubuntu installation media. You will be prompted to restart your system.
After the restart, your system will boot into the newly installed Ubuntu 20.04 LTS Desktop. If you are connected to a network, you may receive a prompt to install updates. It is generally recommended to install updates unless they conflict with critical software.
Conclusion
This tutorial covered the basic steps of installing Ubuntu 22.04 LTS. We described the five steps, starting from downloading the installation media to creating a bootable USB drive and navigating the installation process.
Whether you’re seeking a powerful desktop environment for work or a platform for exploring open-source software, a reliable server hosting partner like RedSwitches is your best bet for success.
We offer bare metal hosting solutions tailored to enhance your experience. We offer the best dedicated server pricing and deliver instant dedicated servers, usually on the same day the order gets approved. Whether you need a dedicated server, a traffic-friendly 10Gbps dedicated server, or a powerful bare metal server, we are your trusted hosting partner.
To learn about the latest release, visit the RedSwitches website.
FAQs
Q. What is a swap partition?
A swap partition is a designated space on a hard drive that acts as virtual memory for a system when the physical RAM is full.
Q. How do I download the 64-bit PC (AMD64) desktop image for installation?
You can download the 64-bit PC (AMD64) desktop image of Ubuntu from the official website to create a bootable USB or use it for installation.
Q. What does it mean when the system displays the installation complete message?
Seeing the installation complete message indicates that the installation process of Ubuntu on your system has been finished successfully.
Q. Is there a specific installation for the security option in Ubuntu?
Ubuntu offers advanced installation options for security-conscious users, allowing customization to enhance system security during installation.
Q. How can I adjust the partition size during the Ubuntu installation?
When installing Ubuntu, you have the option to create separate partitions and define their sizes based on your preferences and system requirements.
Q. What is the significance of the boot sequence in the Ubuntu setup?
The boot sequence determines the order in which devices are checked for bootable files to initiate the Ubuntu installation process.
Q. How do I view the list of recommended drivers using the Ubuntu-drivers list command?
You can check and install the recommended drivers for your hardware by running the Ubuntu-drivers list command in the terminal.
Q. Where can I find the primary configuration file for Ubuntu system settings?
The primary configuration file for Ubuntu system settings is typically located in the “/etc” directory and holds crucial configurations for various system components.
