PuTTY is a free and open-source terminal emulator that you can use as a client for the Telnet, SSH, and raw TCP connections.
The name reflects the roots of the utility as Unix terminals are traditionally referred to as the tty (short for teletype). Originally designed for Microsoft Windows, PuTTY has now been ported to several other operating systems, including all popular Linux distributions. You can freely use it because it is made available under the open-source MIT License.
The utility is ideal for users who need a dependable option to transfer files and work with data over a remote connection to a system.
In this comprehensive tutorial, we will learn how to install PuTTY on Windows.
Table Of Contents
Install PuTTY on Windows
Let’s go through the process of installing PuTTY on Windows. However, before that, it is important to check out the prerequisites.
The Prerequisites
Before installing PuTTY, you should have the following:
- A system running a recent Windows version
- A user account with Administrator privileges
Now, follow these steps to download, set up, install, and run PuTTY on Windows.
Step #1: Download the PuTTY Setup
Visit the official website and download the most recent version from the Download page:
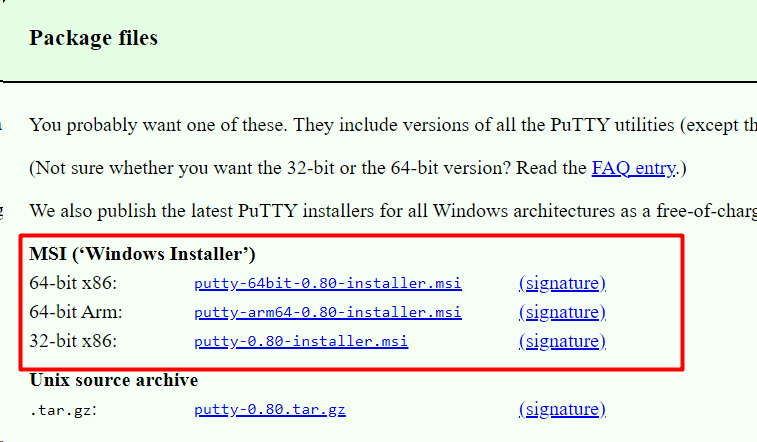
For your Windows machine, select the MSI installer version appropriate for the machine’s architecture. For instance, if your system is 32-bit, download the 32-bit version of the PuTTY installer. Alternatively, get the 64-bit version for 64-bit platforms.
Save the file to the folder of your choice.
Step #2: Installation and Configuration
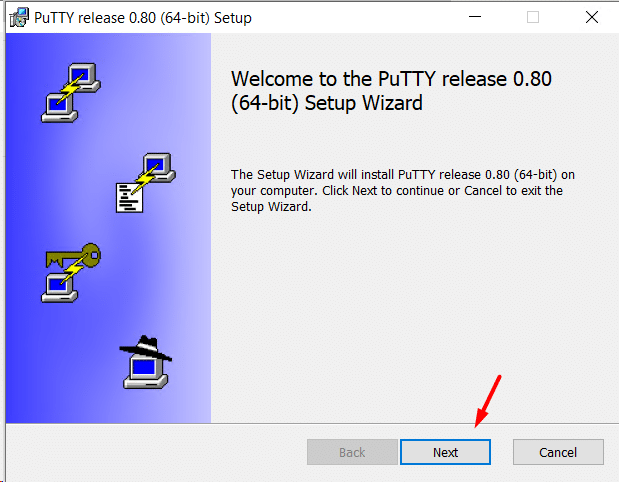
Double-click the downloaded MSI file to launch the installation. On the welcome screen, click Next to continue the installation.
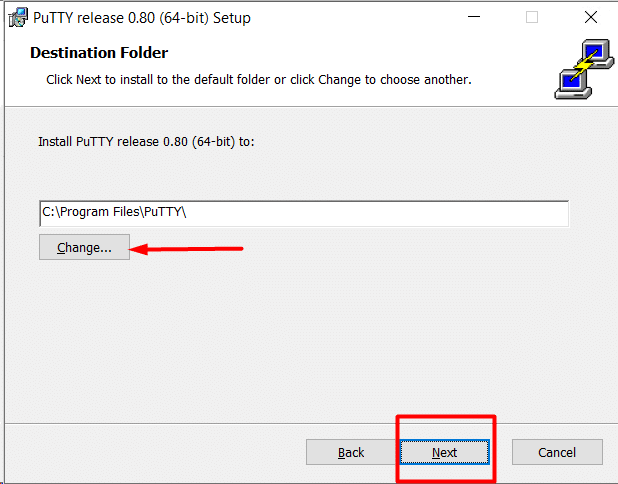
Select the target folder where you wish to install PuTTY. Click Next If you don’t want to change the path.
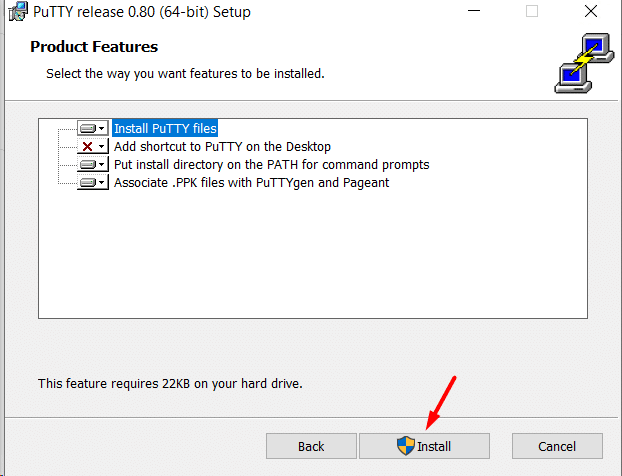
Choose the features of the product that you wish to install. After you have selected, click Install.
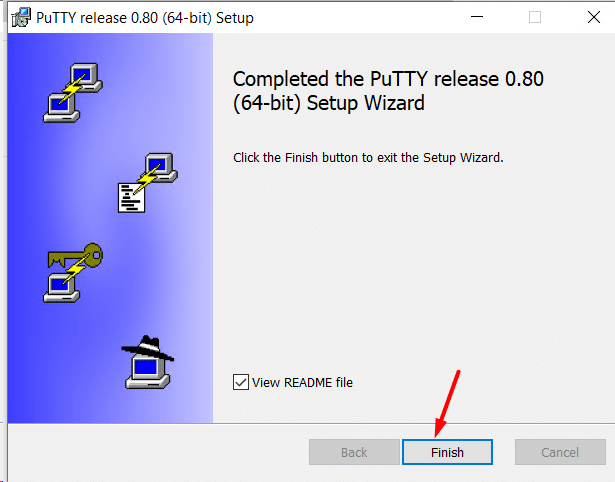
Once the installation is complete, the application displays the Setup complete screen. We recommend reading through the developer’s notes, by toggling the View README file option.
Click Finish to close the installer, and you’re all set to use PuTTY.
Step #3: Run Putty
After installation, run PuTTY to confirm that it functions properly.
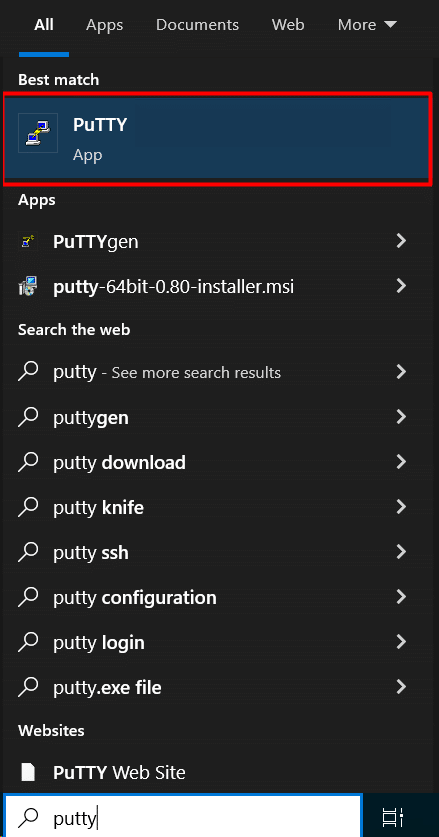
Double-click the Desktop icon, or type PuTTY into the search bar and hit Enter.
The PuTTY configuration window appears on the very first run.

You can configure the serial port, connection type, and server connection through these configuration settings. Enter the server hostname or IP address and select SSH, Telnet, SUPDUP, raw, rlogin, serial, or bare SSH server connection.
Conclusion
Setting up PuTTY on Windows is a simple procedure that gives users a strong tool for remote servers and network device access. Users may rapidly set up PuTTY and start using its features for secure SSH client, Telnet, and serial connections. It also allows users to manage their network infrastructure more productively and efficiently and provides a dependable and effective way to quickly manage remote systems, regardless of your experience level.
Now, with this comprehensive tutorial, you can easily install PuTTY on your systems. If you have a website or application hosted on a remote server, a dedicated hosting partner like RedSwitches can be an asset.
RedSwitches is your global dedicated hosting partner. We offer the best dedicated server pricing and deliver instant dedicated servers, usually on the same day the order gets approved. Whether you need a affordable dedicated server, a traffic-friendly 10Gbps dedicated server, or a powerful bare metal server, we are your trusted hosting partner.
FAQs
Q. What is PuTTY and why is it used?
PuTTY is a network file transfer program, serial console, and terminal emulator. This open source utility is mostly used to establish serial, Telnet, and SSH connections with distant servers and network equipment.
Q. Is PuTTY available for Windows?
PuTTY is available for Windows operating systems and can be easily downloaded and installed.
Q. How do I download PuTTY for Windows?
You can download PuTTY for Windows from the official PuTTY website.
Q. What is the installation process for PuTTY on Windows?
The installation process for PuTTY on Windows is straightforward. To finish the installation, just download the PuTTY installer, launch it, and follow the on-screen directions.
Q. Are there any prerequisites for installing PuTTY on Windows?
Installing PuTTY on Windows requires no special requirements. The installer will guide you through the installation procedure.
Q. Can I customize PuTTY settings during installation?
Yes, you can customize certain settings, such as the installation directory and shortcuts, during the PuTTY installation process.
Q. Is PuTTY compatible with all versions of Windows?
PuTTY works with every Windows version, including Windows 10, Windows 8, Windows 7, and previous versions.
Q. Are there any alternatives to PuTTY for Windows?
Yes, there are several alternatives to PuTTY for Windows, such as KiTTY, MobaXterm, and SecureCRT, each with its own set of features and capabilities.
Q. Can PuTTY be used for both personal and commercial purposes?
Yes, PuTTY can be used for both personal and commercial purposes. It becomes available for free use and distribution under the terms of the MIT License.
Q. Where can I find documentation and tutorials for using PuTTY on Windows?
You can find documentation and tutorials for using PuTTY on Windows on the official PuTTY website, as well as on various online forums and communities dedicated to system administration and networking.
