Instant Provisioning | Competitive Pricing | Robust Performance
By incorporating the latest Nvidia GPUs, we provide superior graphics processing capabilities, making it ideal for tasks that require high-resolution rendering and computational power.
Our impressive 10 TBPS network backbone ensures data transfer happens at lightning speed, accommodating high bandwidth volumes without any hitches.
We understand the importance of constant online presence. That’s why we promise 100% uptime, ensuring your services remain uninterrupted and always accessible.
Transparent, Fixed & Competitive
Pricing Options
Have a custom request? No Worries. We can help!
4 Cores/8 Threads
4 Cores/8 Threads
4 Cores/8 Threads
4 Cores/8 Threads
8 Cores/16 Threads
4 Cores/8 Threads
4 Cores/8 Threads
4 Cores/8 Threads
4 Cores/8 Threads
4 Cores/8 Threads
Full Root & Administrator Access
Gain complete control over your Linux server with full root access or Windows server with full administrator access. This allows you to manage your server environment directly, install software, and perform custom configurations to suit your specific needs.
Dedicated IP Address
Each of our dedicated servers comes with its own dedicated IP address. This ensures better security, reliability, and performance than most web hosts have, allowing you to host multiple websites, or applications without sharing resources.
IPv6 Availability
Stay ahead of the curve with IPv6 support. Our servers are IPv6-ready, ensuring you are prepared for the next generation of internet addressing.
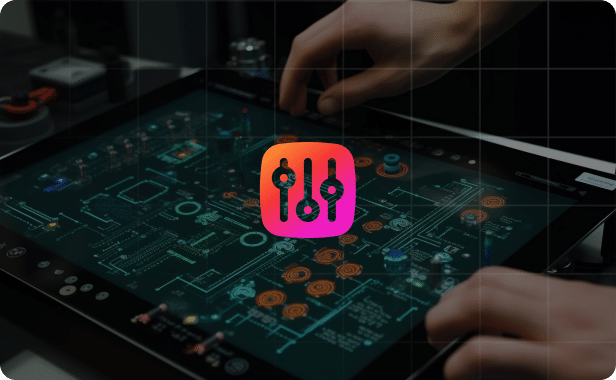
Intuitive Server Management Panel
Manage your server effortlessly with our user-friendly server management control panel. From rebooting to software installations, perform all essential tasks with just a few clicks.
Popular Control Panels
We offer CentOS Web Panel and VestaCP as standard control panel options. However, upon request, we can also provide other popular choices like cPanel, Plesk, and DirectAdmin to suit your management preferences better.
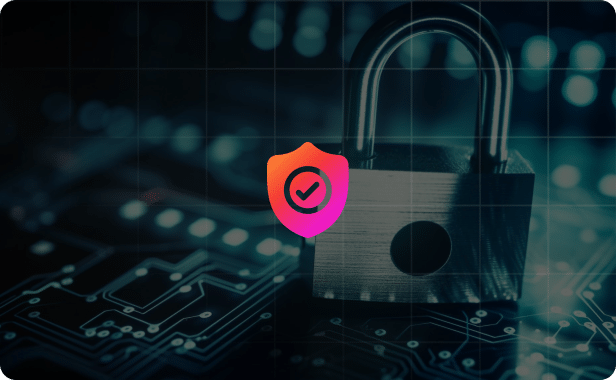
DDOS Protection
Security is a top priority, so our servers & data centers come with built-in DDoS protection. This feature safeguards your server from malicious attacks, ensuring uninterrupted service.

Managed Support
Our full managed server support service takes the hassle out of server management. From routine maintenance to emergency troubleshooting, our expert team is available 24/7 to assist you.

Server Monitoring On Request
Keep an eye on your server's performance and health with our optional, server uptime monitoring service. Upon request, we can set up real-time monitoring to see server uptime and alert you of any issues before they become critical.
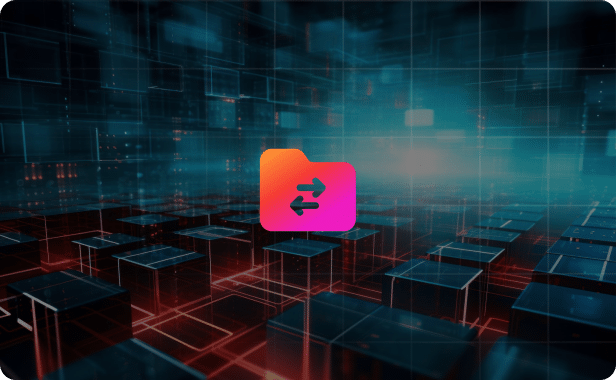
Data Migration
Switching to RedSwitches is a breeze thanks to our data migration service. Our team will assist you in securely transferring all your data from your previous hosting provider, ensuring a smooth transition.
Industries We Serve
Empowering Every Sector: Tailored Server Solutions for Specialized Industry Needs
AI & ML
Unmatched Computing Power
AI and ML applications require immense computational power for data processing and analysis. RedSwitches meets this demand with our latest AMD EPYC Gen 3 Servers and NVME Drives, offering the high computing power essential for running complex algorithms and data-intensive tasks.
E-Commerce
Robust Performance for High Traffic
E-commerce platforms need servers that can handle millions of users daily without compromising speed or security. RedSwitches provides high-performance servers designed to manage large volumes of traffic, ensuring that your online store is always up and running.
Video Streaming& CDN
Affordable, High-Capacity Data Traffic
Video Streaming and CDN services require a massive amount of data traffic with low latency. RedSwitches offers this at an incredibly competitive price. Our unique selling point is the lowest cost per TB, achieved by negotiating lucrative rates with our network carriers and maintaining lower margins compared to other big public cloud providers.
File Storage
Scalable, High-Capacity Solutions
Organizations requiring large amounts of storage can rely on RedSwitches. We have the capacity to provide storage spaces up to 10 PB with multiple server clusters, making us an ideal choice for high-volume public or private file storage needs.
Fintech
Secure and Compliant Solutions
Security and compliance are paramount in the fintech industry. RedSwitches offers robust security measures that meet industry standards, ensuring that your financial applications are both secure and compliant with regulations.
Blockchain
Powerful and Secure Computing
Blockchain applications require both high computational power and top-notch security. RedSwitches delivers on both fronts with our AMD EPYC Gen 3 servers, providing the necessary horsepower and security features to run blockchain applications effectively.
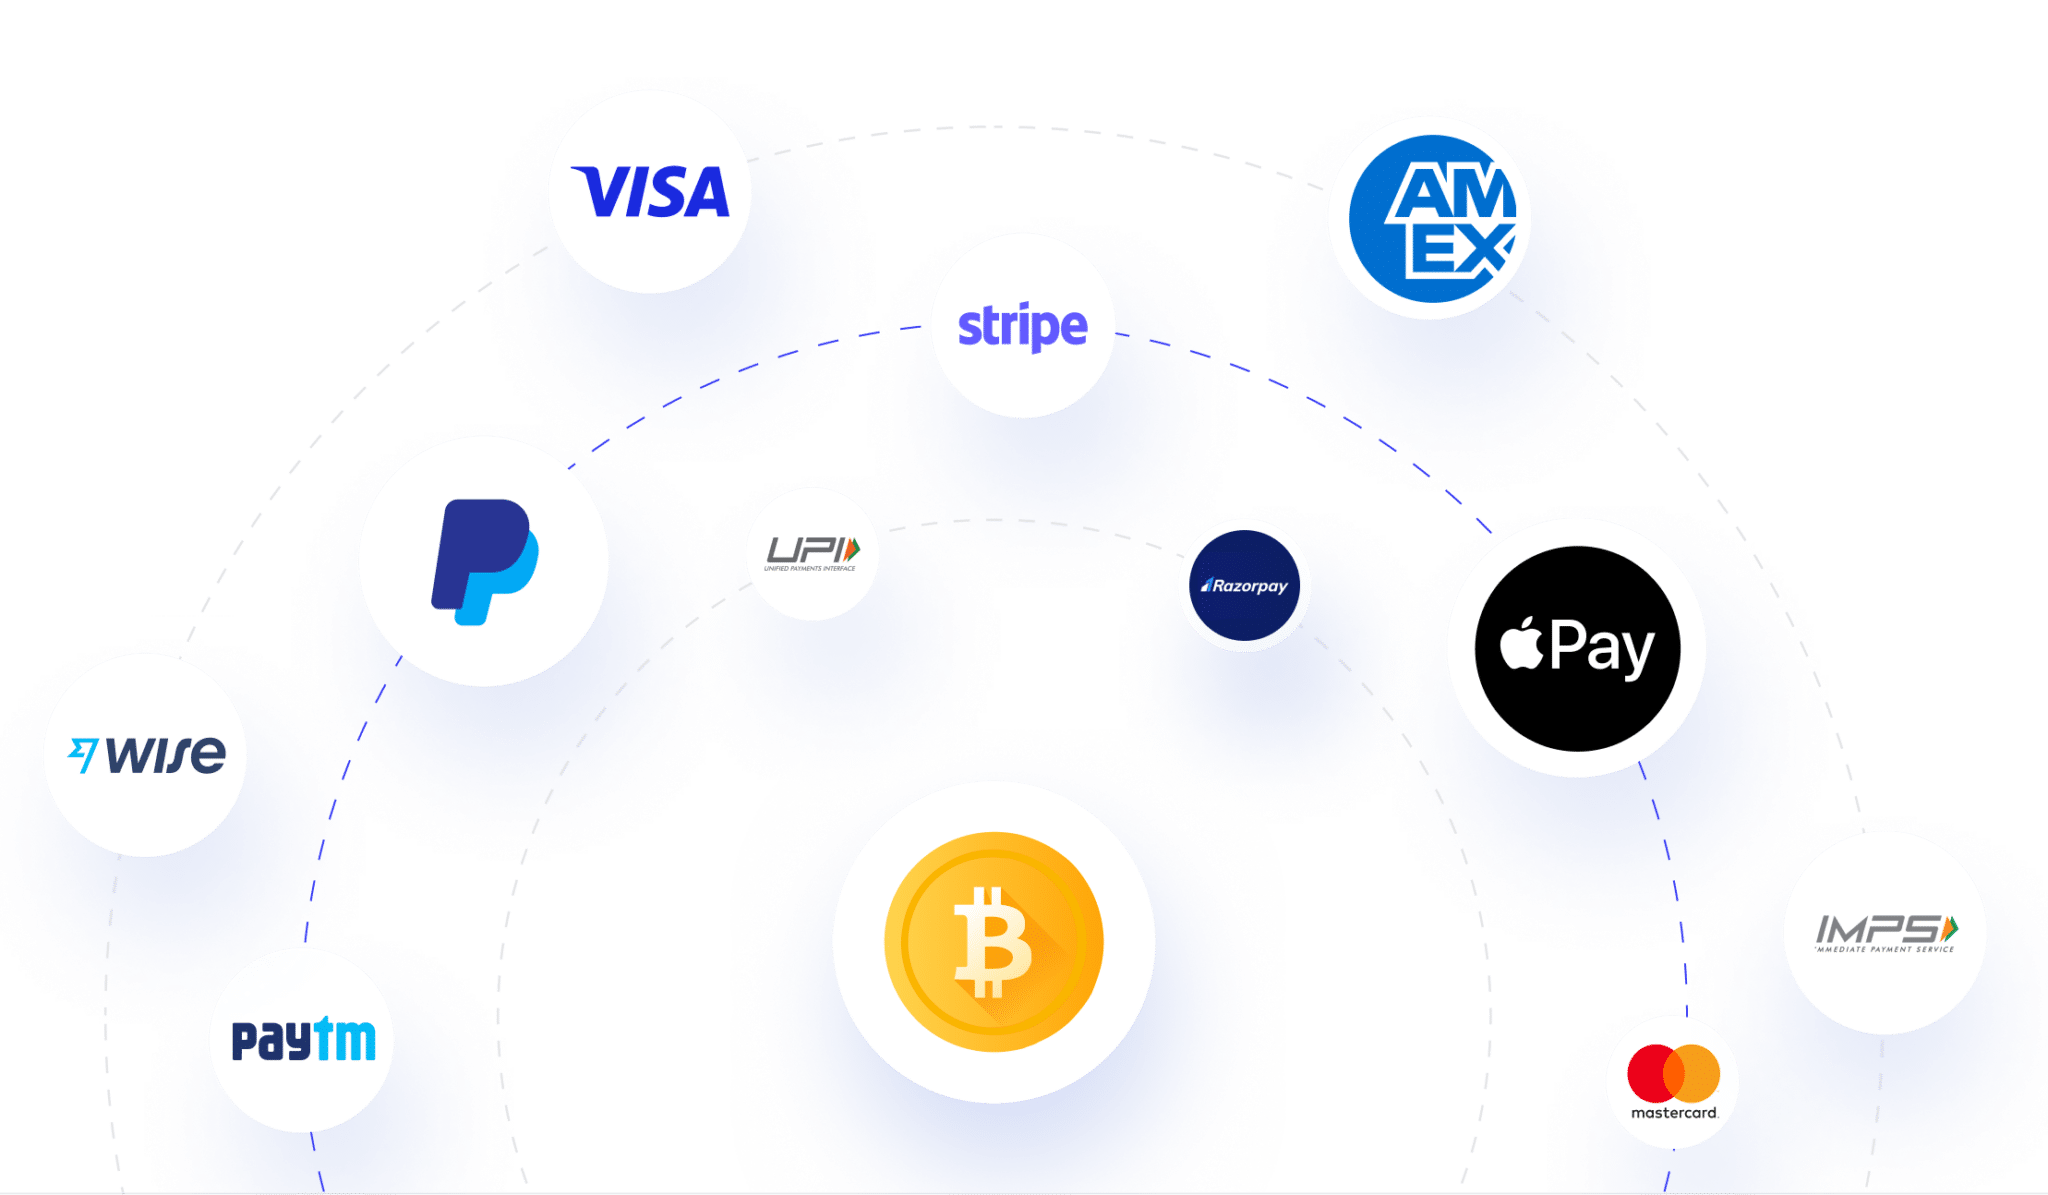
Choose From Over Half-A-Dozen Payment Options
Multiple Payment-Modes
Private Racks
For Ultimate Exclusivity and Scalability: If you're operating multiple servers and crave a more private, secure setup, our Private Racks are the perfect solution. Suitable for 5+ servers, these racks offer an isolated environment for your infrastructure, enhancing both security and performance. Don't miss this chance to upscale your operations seamlessly.
Private Switches
Tailored Networking for Your Needs: Need specialized networking for your setup? We offer private switches from industry leaders like Cisco & Juniper. These switches are perfect for businesses requiring a unique, secure, high-performance networking solution including Private Network and have multiple vLans. Make the smart switch today for a more robust infrastructure.
Hardware Firewalls
Unmatched Security with Customization: Elevate your server's security with our range of Cisco hardware firewalls. Not only do these firewalls offer an additional layer of protection, but they also allow you to customize your own Access Control Lists (ACL) and settings. Secure your peace of mind along with your data.
Windows & MS-SQL Licenses
Licensed to Thrill: As a Microsoft License Partner, we can offer you a wide range of Microsoft licenses, including Windows Datacenter and MS SQL licenses. Optimize your server environment with genuine, reliable software solutions.
Enterprise Backup Solutions
Your Data's Best Friend: While dedicated servers don't include backups by default, we offer Enterprise-Grade backup solutions from Acronis as your disaster recovery option. Ensure that your data is safe, secure, and easily retrievable. If you're not keen on managing backups yourself, let us handle it for you, and sleep easy.
cPanel & Plesk
Effortless Website Management: Thanks to our partnerships with leading vendors, we offer popular website control panels like cPanel and Plesk at discounted rates. We can set up, configure, and migrate all your websites to these user-friendly platforms if needed. Manage your websites like a pro without breaking the bank.

You Name it & We Will Arrange It
Custom Server Request
Unleash Top-Notch Performance at Just $22/month!
Get ready for incredible savings on dedicated servers with lightning-fast performance! For just $22 per month, enjoy dedicated resources, easy setup, and no hidden fees.

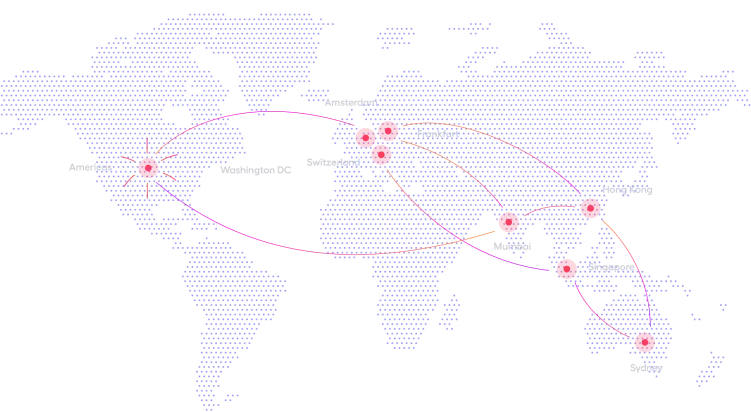
Develop Locally, Deploy Globally
RedSwitches Network Map
Choose from over 20+ locations across 4 continents to deploy your Dedicated Server and host your mission critical applications instantly.

Have More Questions? Get In Touch Today!